Hot Tub Starter Kits: What to Look For
A good starter kit gets you most of the way there. Use this checklist to evaluate any kit, spot what's missing, and nail the first-fill sequence.
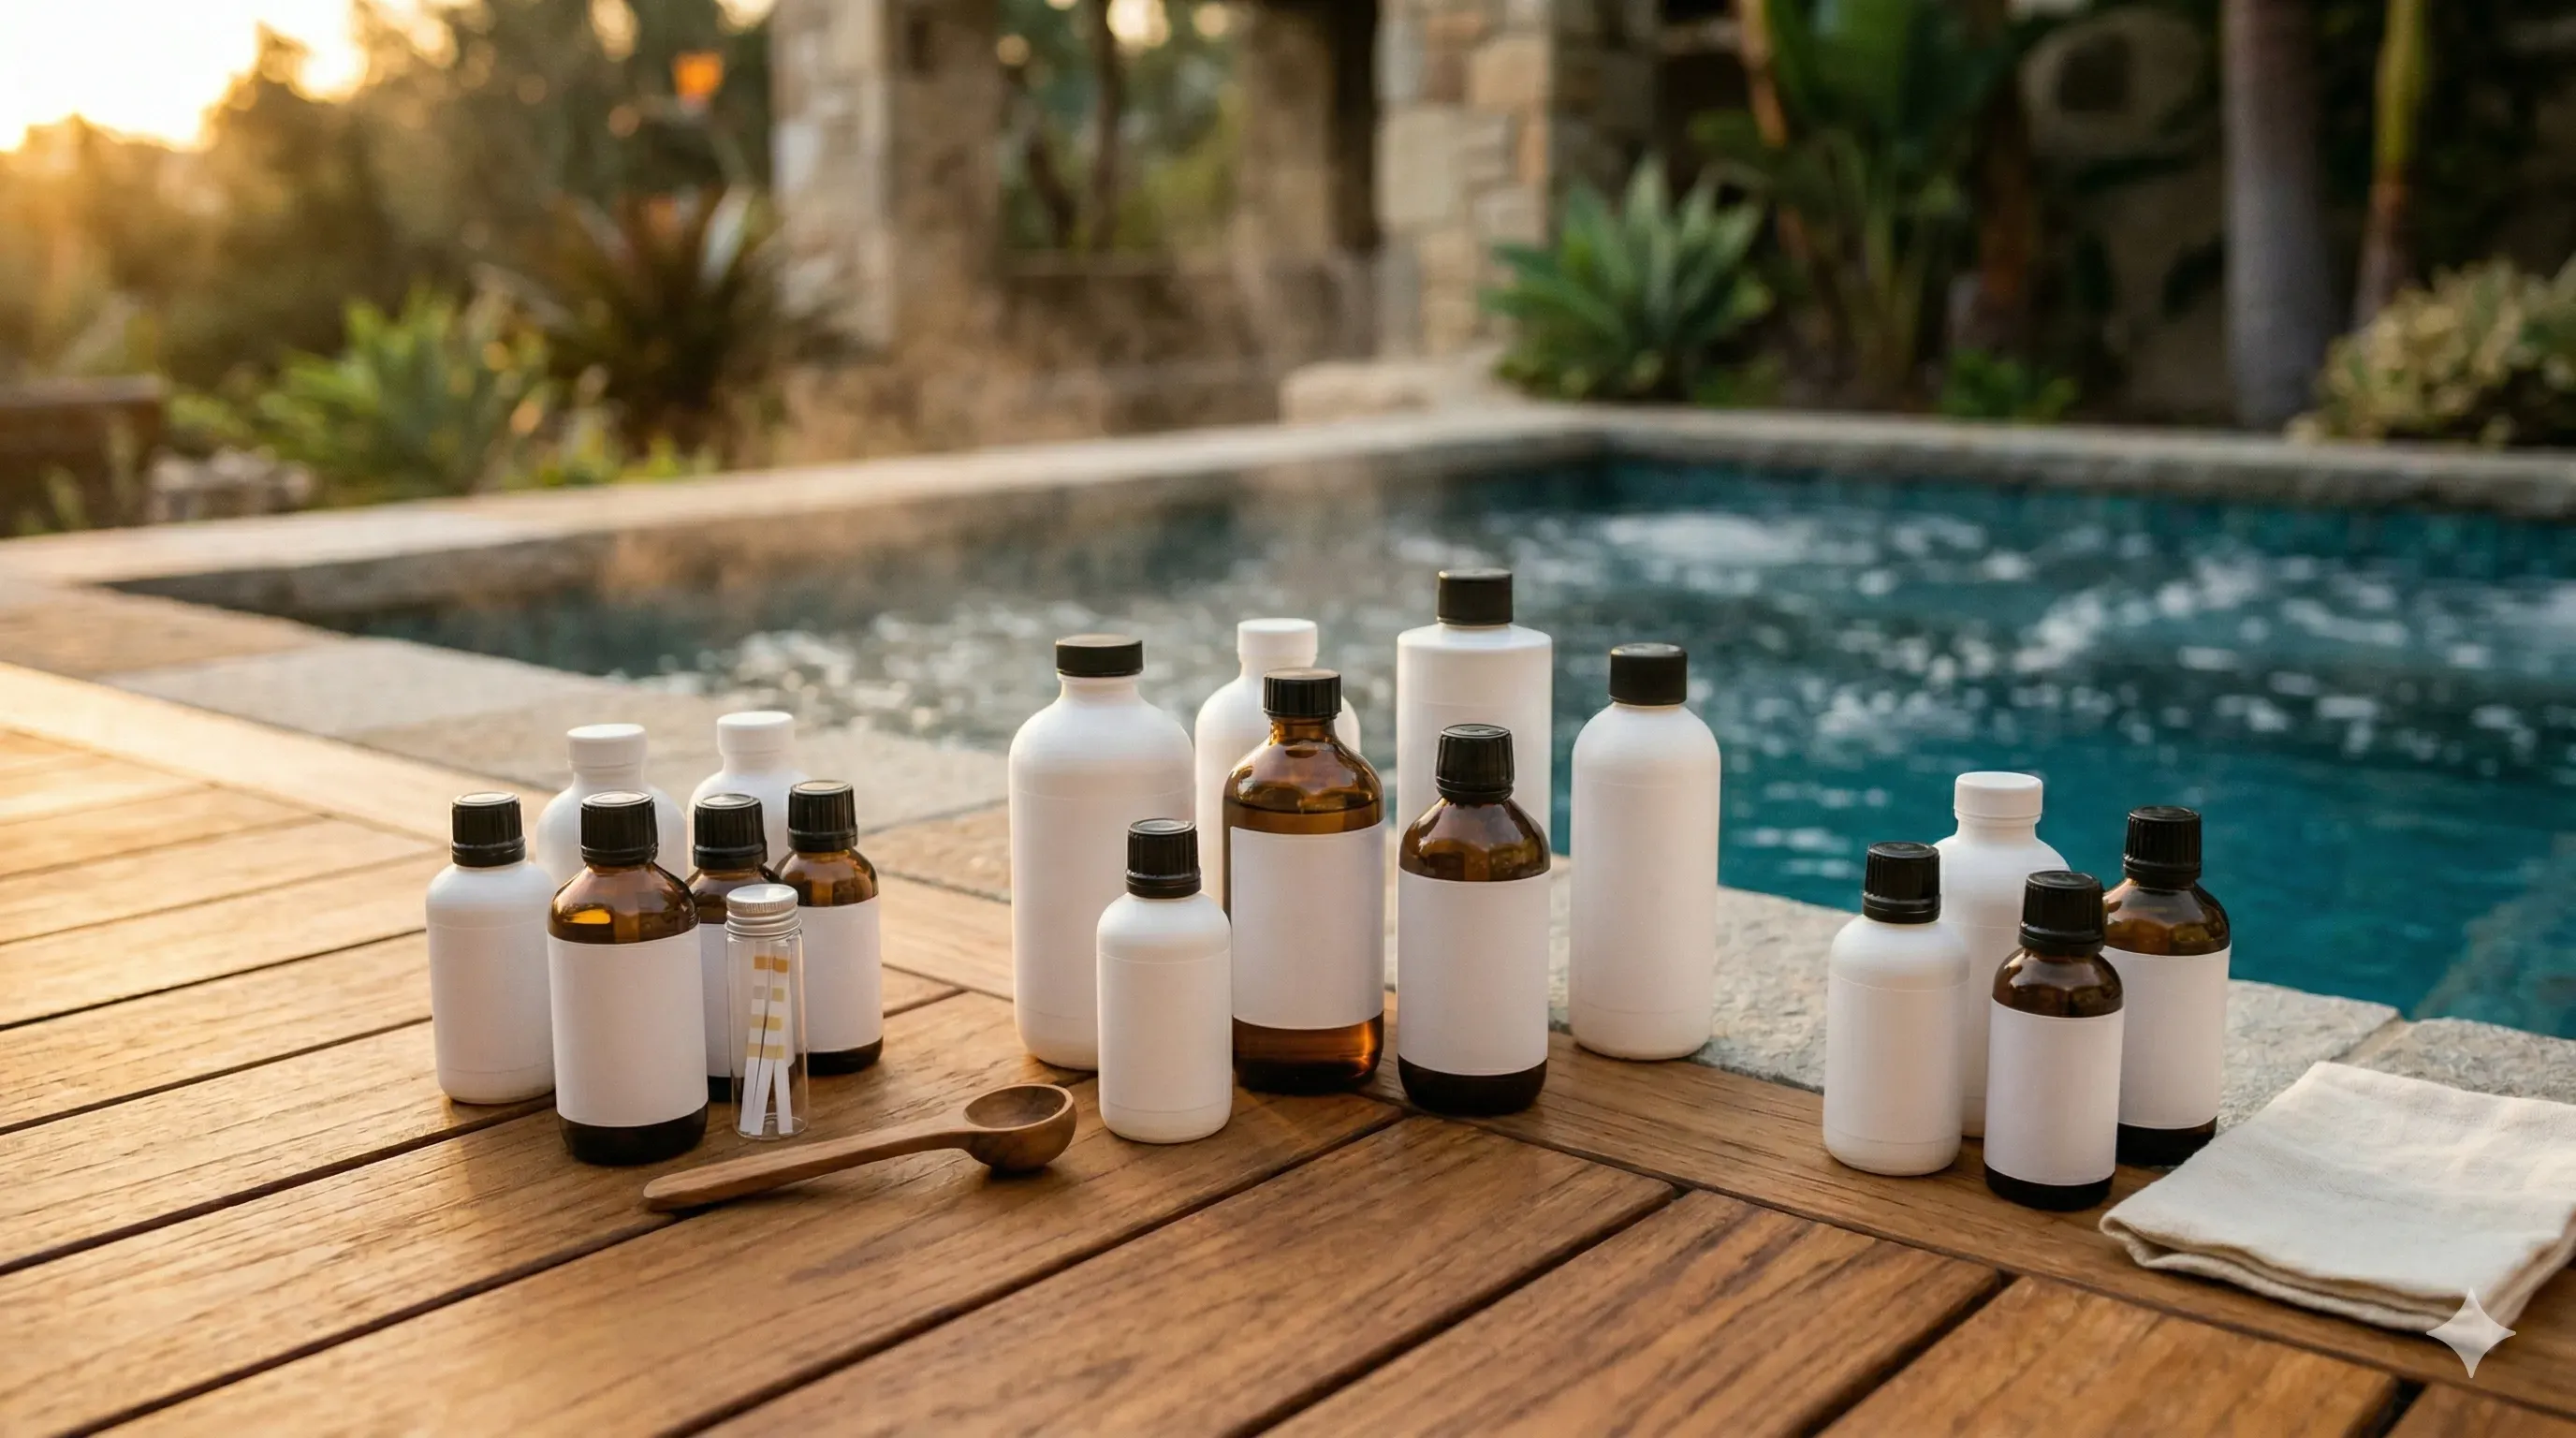
A starter kit takes the guesswork out of your first fill. Instead of standing in a pool store aisle trying to figure out which twelve products you need, you get a box with the essentials and an implied promise: this is enough to get started.
For most kits, that promise is mostly true. You’ll get a sanitizer, pH adjusters, shock, and test strips. That covers the core. But almost every kit leaves a few gaps that you’ll want to fill before your first soak. This guide gives you a checklist to evaluate any kit, a list of what to pick up alongside it, and the step-by-step startup sequence so you add everything in the right order.
The complete first-fill checklist
Before evaluating any kit, you need to know what a safe first fill actually requires. Here’s the full list, in the order you should add them:
- Metal sequestrant (add first, before anything else, and circulate 4 to 6 hours)
- Alkalinity increaser (sodium bicarbonate) to reach 80 to 120 ppm
- pH decreaser (sodium bisulfate) to reach 7.4 to 7.6
- pH increaser (sodium carbonate) in case pH runs low
- Calcium hardness increaser (calcium chloride) if below 150 ppm
- Sanitizer (dichlor granules or bromine tablets plus sodium bromide)
- Shock oxidizer (MPS or a larger dose of sanitizer)
- Test strips (at least 50, ideally 100 for the first two months)
Optional but recommended: a hose pre-filter to reduce metals and minerals during the fill, and a plumbing flush product for brand new tubs (factory residue sits in the pipes from wet-testing at the manufacturer).
Print that list and check it against whatever kit you’re considering. The gaps tell you exactly what to buy alongside it.
How to evaluate any starter kit
Not all kits are created equal, but you don’t need a chemistry degree to tell a good one from a thin one. Run through these seven questions:
1. Does it include a sanitizer you want to use?
This is the core of any kit, and most get this part right.
Most kits are either chlorine-based or bromine-based. Make sure you’re buying the right type for your preference. If you’re not sure which to choose: chlorine (dichlor granules) works well if you soak daily or every other day. Bromine stays effective longer in hot water and is better for less frequent soakers. Both get the job done.
If the kit is bromine-based, check that it includes sodium bromide (sometimes called “bromine booster”). You need this to establish a bromide reserve in the water before the tablets actually do their job. Kits that skip this step leave you with tablets that underperform.
2. pH adjusters (both directions)
You need both a pH increaser and a pH decreaser. Most kits include these, but a few budget or brand-specific kits skip them entirely. Without pH control, you can’t balance your water or make your sanitizer effective.
3. Alkalinity increaser — the most commonly skipped essential
Alkalinity increaser is the most commonly skipped essential, and it’s the one that causes the most frustration when it’s missing. Alkalinity acts as a buffer for pH. You need to adjust it before adjusting pH, or your pH corrections won’t hold. If the kit doesn’t include alkalinity increaser, buy sodium bicarbonate (baking soda) separately. It’s the same active ingredient.
4. Does it include a calcium hardness increaser?
Another common gap. If your tap water is soft (common in the Pacific Northwest and New England), you’ll need to add calcium to protect your equipment from corrosion. If you’re in a hard water area (Southwest, Midwest, Texas, Florida), your fill water probably has plenty of calcium already and you can skip this one. Test your source water to find out.
5. Shock oxidizer
A non-chlorine shock oxidizer (MPS) breaks down body oils, sweat, and organic compounds that regular sanitizer can’t fully handle. Most kits include this. If yours doesn’t, pick up a standalone MPS product.
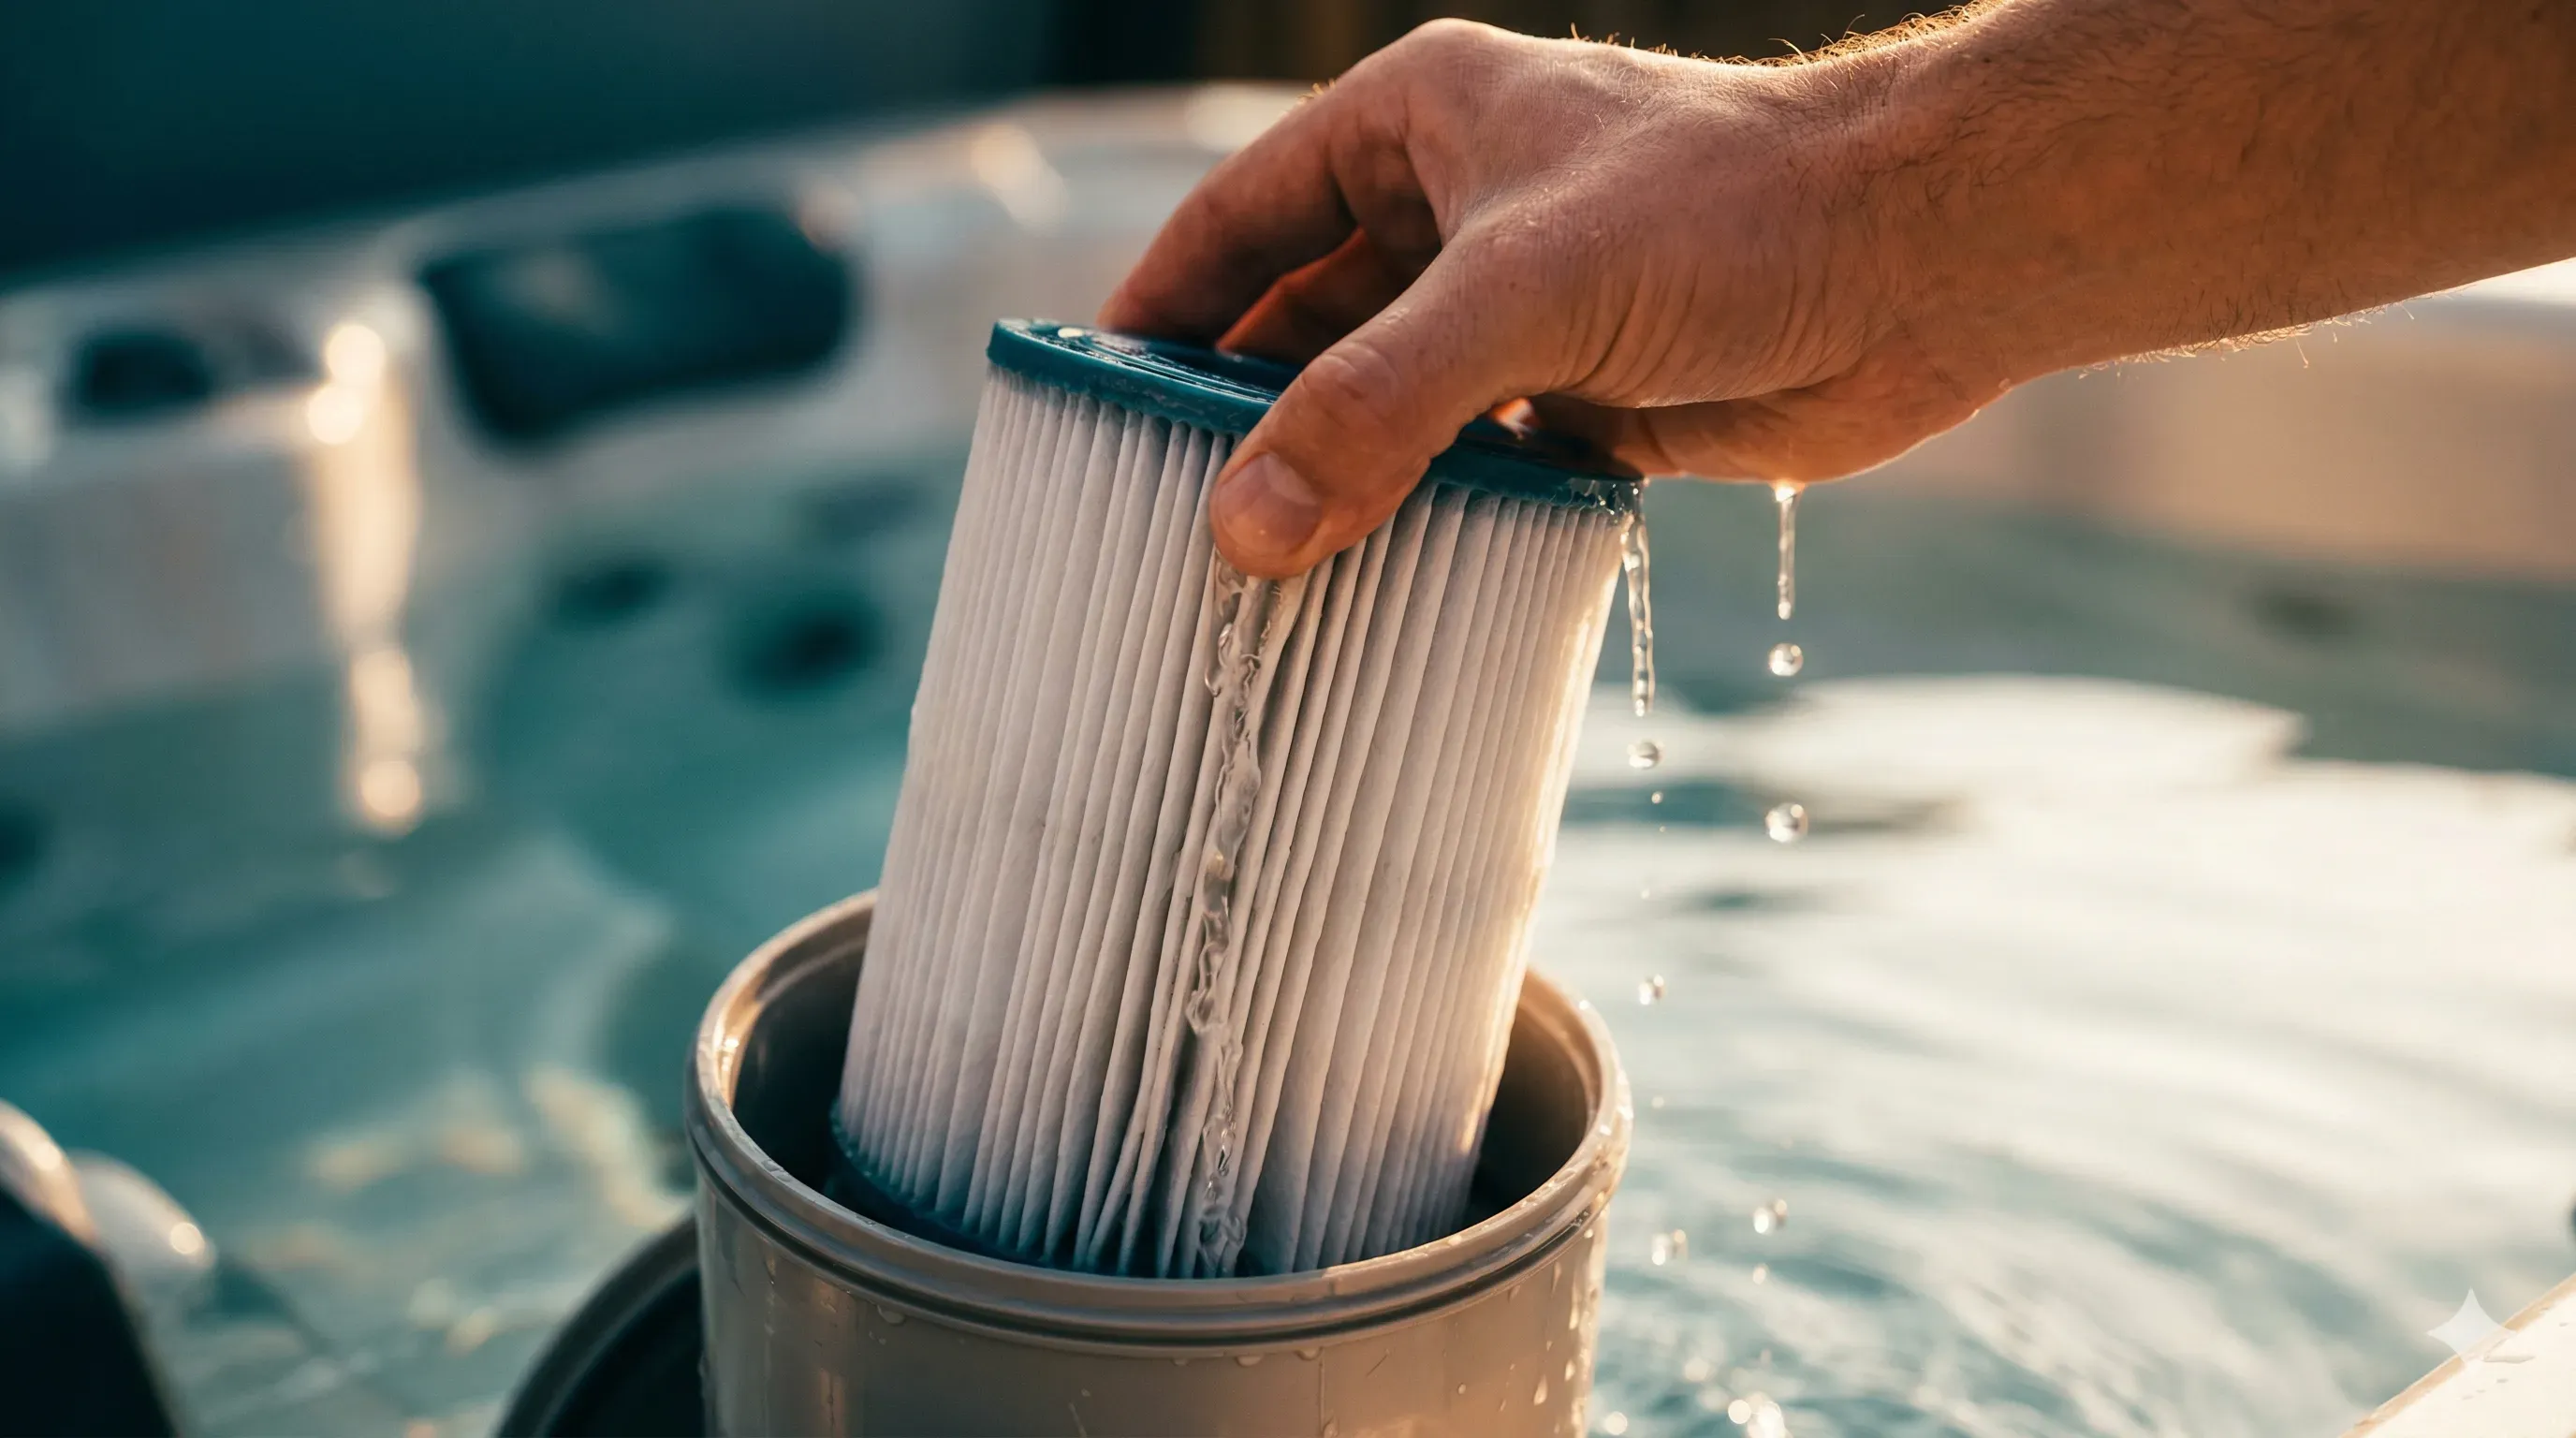
6. Metal sequestrant or stain preventer
A sequestrant binds dissolved metals in your fill water (iron, copper, manganese) and prevents them from staining your shell when you add sanitizer. This should be the very first chemical you add to fresh water. Some kits include a “stain and scale control” product that serves this purpose. Many don’t. If yours skips it, buy one separately. It’s especially important if you have well water or live in an area with high mineral content.
7. Enough test strips (more than you think)
During your first two months, you’ll test two to three times per week. That’s 16 to 24 tests per month. A kit with 10 strips runs out in less than a week. Look for at least 50. Better yet, budget for a 100-count bottle or consider investing in a liquid reagent test kit for more accurate readings down the road.
What every kit skips (buy these separately)
Across the starter kit market, two items are consistently absent:
A plumbing flush product. New hot tubs ship with factory test water and manufacturing residue inside the pipes. Even a brand new tub can harbor biofilm from the wet-test at the factory. Running a plumbing purge product through the jets for 20 minutes before your first fill clears this out. It’s a one-time step, and you’ll notice clearer water from the start because of it.
A hose pre-filter. If your fill water contains iron, copper, or high calcium, a pre-filter attaches to your garden hose and removes these minerals before they enter the tub. It prevents staining on the first fill and reduces the chemical workload once the tub is running. If you have hard water, a hose filter saves you hours of fighting mineral buildup later.
Neither of these is part of ongoing maintenance. They’re first-fill items that pay for themselves immediately.
Chlorine kit vs bromine kit: which type to buy
The sanitizer choice shapes everything else about your routine, so it’s worth getting this right before you buy a kit.
Chlorine kits use dichlor granules as the sanitizer. You measure and add them after each soak or every other day. Chlorine acts fast, is widely available, and costs less than bromine. The tradeoff: dichlor adds cyanuric acid with every dose, which accumulates over time in small volumes. Many experienced owners start with dichlor and then transition to the dichlor/bleach method once they’re comfortable.
Bromine kits use slow-dissolving tablets in a floating dispenser. You load the dispenser once a week and it feeds sanitizer into the water around the clock. Bromine holds up better at higher temperatures and across a wider pH range than chlorine. It’s more hands-off day to day. The downsides? Higher cost, slower initial kill, and you need sodium bromide to establish a bromide reserve before the tablets work.
| Factor | Chlorine Kit | Bromine Kit |
|---|---|---|
| Daily effort | Add granules after each soak | Check dispenser weekly |
| Effectiveness in hot water | Good, degrades faster above 100°F | Better, more stable at high temp |
| pH sensitivity | More sensitive | Effective across wider range |
| Ongoing cost | Lower | Higher |
| Best for | Daily soakers, budget-conscious | Weekend soakers, hands-off preference |
| Extra equipment needed | None | Floating dispenser (check if kit includes one) |
If you’re on the fence, start with chlorine. It’s simpler to learn on, and you can always switch to bromine on your next water change. The reverse is harder. If the kit is bromine-based, check that it includes a floating dispenser. Bromine systems require one, but not every kit ships with it.
The build-your-own approach
Some owners skip kits entirely and buy chemicals individually. This works well if you already know what your water needs (from testing your source water) or if you want to buy larger quantities that last longer.
The basics for a chlorine setup:
- Dichlor granules
- Sodium bisulfate (pH decreaser)
- Sodium bicarbonate (alkalinity increaser)
- Calcium chloride (if your water is soft)
- MPS shock oxidizer
- Metal sequestrant
- Test strips (100-count) or a liquid test kit
The basics for a bromine setup:
- Bromine tablets (1-inch spa size)
- Sodium bromide (to establish the bromide reserve)
- Floating dispenser with adjustable flow
- Sodium bisulfate (pH decreaser)
- Sodium bicarbonate (alkalinity increaser)
- Calcium chloride (if needed)
- MPS shock oxidizer
- Metal sequestrant
- Test strips or liquid test kit
The advantage of buying individually is that you replace products independently as they run out. With a kit, you’ll use up sanitizer and pH decreaser long before you touch the pH increaser. When the first product runs empty, you’re buying singles anyway.
The advantage of a kit is convenience and confidence. Everything arrives together, usually with some form of instructions, and you don’t have to worry about buying the wrong thing.
If you’re filling your first hot tub, just get a kit. You’ll appreciate having everything show up in one box. Once you’ve done a drain and refill or two and know what your water actually chews through, switch to buying individual products in larger sizes.
The startup sequence (step by step)
Whether you bought a kit or assembled your own chemicals, the order matters. Adding chemicals in the wrong sequence means wasted product and corrections that don’t stick.
- Flush plumbing if the tub is new or has been sitting (20 minutes with a flush product, then drain)
- Fill through the filter housing using a hose pre-filter if you have one
- Heat to at least 80°F before adding any chemicals
- Test source water (pH, alkalinity, calcium hardness, sanitizer)
- Add metal sequestrant. Circulate 4 to 6 hours before other chemicals
- Adjust alkalinity to 80 to 120 ppm. Wait 20 minutes, retest
- Adjust pH to 7.4 to 7.6. Wait 20 minutes, retest
- Add calcium hardness increaser if below 150 ppm
- Add sanitizer. For chlorine: dichlor granules. For bromine: add sodium bromide first, then load the floating dispenser
- Shock with MPS or a double dose of sanitizer
- Run jets on low for 30 minutes to distribute everything
- Test again the next day and make small corrections
That next-day retest is important. Chemicals interact with each other and with your source water’s mineral content. Your first readings rarely reflect where things settle after 24 hours.
What happens when the kit runs out
No kit prepares you for this part. Six to eight weeks in, the sanitizer bottle is empty. Now what?
Don’t rebuy the whole kit. By this point you know which chemicals you actually go through. Restock those individually in larger sizes. For a week-by-week breakdown of what ongoing maintenance looks like, see the maintenance schedule. Most owners find they use sanitizer, pH decreaser, and shock regularly. The pH increaser that came with the kit might still be full months later because hot tubs almost never need it.
Take stock of what you used and what you didn’t. That tells you exactly what your water needs going forward, and it saves you from buying products that sit on a shelf.
Frequently asked questions
Are hot tub chemical starter kits worth it? A good one saves time and guesswork, especially for first-time owners. Check the contents against what a first fill actually requires. Most kits cover sanitizer and pH adjusters well but leave a few gaps you’ll want to fill separately. Use the seven-question checklist in this guide to evaluate any kit before buying.
What chemicals do I need for a brand new hot tub? A metal sequestrant (add first), alkalinity increaser, pH decreaser, calcium hardness increaser if your water is soft, a sanitizer (dichlor granules or bromine tablets), shock oxidizer, and test strips. That covers a safe first fill.
Should I use a chlorine or bromine starter kit? Chlorine kits work well for daily soakers and are more widely available. Bromine kits are better for people who soak a few times a week because the tablets provide continuous sanitization between uses. Both work. Pick based on how often you plan to soak.
What chemicals are usually missing from starter kits? The most common gaps are metal sequestrant (needed before anything else on first fill), alkalinity increaser (needed before pH adjustment), calcium hardness increaser (needed for soft water areas), and enough test strips. Some kits ship with only 10 strips, which barely covers a week of testing.
Can I buy chemicals individually instead of a kit? Absolutely. Some owners prefer it because they can match quantities to what their water actually needs. It takes a bit more research upfront, but you avoid ending up with products you won’t use. Either way you end up with the same chemicals in your water. See the build-your-own lists above for what to buy.
What order do I add startup chemicals to a new hot tub? Metal sequestrant first (circulate 4 to 6 hours). Then alkalinity increaser to reach 80 to 120 ppm. Then pH decreaser to reach 7.4 to 7.6. Then calcium hardness increaser if below 150 ppm. Then sanitizer. Then shock. Wait 20 minutes between each addition and retest before moving on.