Hot Tub Biofilm: What It Is and How to Remove It
Biofilm lives inside your plumbing where sanitizer can't reach. Find out what it is, how to purge it, and which products actually work.
Your test strips look fine. Free chlorine is at 4 ppm, pH is 7.5, alkalinity is dead center at 100 ppm. But the water smells slightly off, chlorine keeps dropping faster than it should, and white flakes appear every time you turn the jets on.
The problem isn’t in the water you can see. It’s in the plumbing you can’t.
What biofilm actually is
Biofilm is a colony of bacteria that attaches to the interior walls of your hot tub’s plumbing, jet housings, and equipment. Once attached, the bacteria secrete a sticky matrix made of fatty acids, proteins, and carbohydrates. That matrix forms a protective shell around the colony, shielding it from the sanitizer in your water.
The slime builds in layers. As bacteria die, the dead cells add to the thickness. New bacteria colonize on top. Over weeks and months, the biofilm grows from a thin coating into a dense, layered structure that can partially block water flow in smaller lines.
One thing that catches people off guard: biofilm is resistant to your sanitizer at any normal level. Chlorine at 3 to 5 ppm kills bacteria floating freely in the open water. Against an established biofilm colony protected by its lipid matrix, that same chlorine concentration does almost nothing. A spa technician on Trouble Free Pool put it bluntly: normal sanitizer levels are a joke to a bacterial biofilm. The protective layer is so dense and chemically inert that even very high concentrations of chlorine barely scratch it.
That’s why you can have perfect chemistry readings and still have a biofilm problem. The biofilm lives where the sanitizer doesn’t reach.
Why it matters beyond water quality
Biofilm isn’t just a cosmetic or chemistry nuisance. The bacteria it harbors include species you don’t want multiplying unchecked in warm water: Pseudomonas aeruginosa (the bacteria behind hot tub rash and folliculitis), Legionella (the cause of Legionnaires’ disease), E. coli, and in some documented cases, MRSA.
The biofilm colony keeps shedding bacteria and organic material into the water. That’s what drives the constant chlorine demand. Your sanitizer is being consumed fighting the bacteria that biofilm releases, but it can’t touch the source inside the pipes. You add more chlorine, it gets eaten again, and the cycle repeats.
If you’ve ever drained, refilled with perfectly clean water, and watched it turn cloudy or develop a chlorine demand within days, biofilm in the plumbing is almost certainly the reason. The fresh water didn’t bring the problem. The pipes did.
How to tell if you have it
Biofilm doesn’t announce itself with a single obvious symptom. It shows up as a pattern of small, persistent problems that chemical adjustments don’t fully resolve.
Chlorine that disappears overnight even when nobody soaked. An overnight chlorine loss test (dose to 5 ppm in the evening, cover on, test in the morning) that shows 2 ppm or more of loss with no bathers is a strong indicator.
White or gray flakes that appear when jets fire up, especially after the tub has been idle for a day or two. These are chunks of biofilm breaking loose.
Water that gets cloudy within a few days of a fresh fill. The plumbing is inoculating the clean water.
A persistent odor that isn’t the sharp chloramine smell but something musty, earthy, or slightly sour. Shocking temporarily reduces it, but it comes back.
Foam that returns no matter how many times you shock or how carefully bathers shower first.
Any one of these by itself could have other explanations. When you see two or three together, and especially when they persist after shocking and chemical adjustments, biofilm is the likely root cause.
How to remove it
You can’t shock biofilm away. You can’t filter it out. The only effective approach is a plumbing purge: a specialized product that breaks down the biofilm’s protective layer so water pressure can flush it out.
The purge process
Remove your filter cartridges. The gunk that comes out of the plumbing will clog them. Set them aside and clean them separately.
Add the purge product to the old water. Always purge before you drain, using the dirty water. You want the product mobilizing the biofilm in the current water that you’re about to throw away.
Run every jet on high for 20 to 30 minutes. Open all diverter valves. Run the air blower if you have one. The combination of the purge product breaking down the biofilm and high water flow physically pushing it out of the lines is what makes this work. You’ll see brown or yellow gunk, sticky foam, and sometimes chunks of slimy material rise to the surface. The first time can be startling.
Let it sit overnight. Turn off the jets but leave the circulation pump running on low. The product continues working on the biofilm while the water holds the loosened material in suspension. The next morning, run the jets on high for another 5 minutes to flush any remaining deposits.
Wipe the waterline while the water is still in. Biofilm residue collects at the scum line during the purge.
Then drain completely. Use a submersible pump for speed. Clean the shell with a spa-safe cleaner while it’s empty.
Refill with fresh water and balance chemistry in order (alkalinity, pH, calcium if needed, then sanitizer). Shock to 10 ppm to make sure the fresh fill is sanitized.
When one purge isn’t enough
If the tub has never been purged, or if you bought it used and have no idea what the previous owner did (or didn’t do), one round may not be enough. The biofilm in a neglected tub can be thick enough that the first purge only gets the outer layers.
Do a second purge. If the second round still brings out visible gunk, do a third. You’re done when a purge cycle produces clean foam with no discoloration and no floating material. For a tub with years of buildup, two to three rounds is normal.
Which product to use
Not all purge products are equal. Independent testing by spa technicians across multiple forums and review sites has consistently shown significant performance differences.
Ahh-Some is the most recommended product in the hot tub community. It’s a concentrated gel (about 1 tablespoon per 250 gallons) that breaks through the lipid layer protecting biofilm colonies. Head-to-head testing documented by experienced spa technicians showed it pulls substantially more material from plumbing than alternatives. Its directions include adding chlorine during the purge, which kills bacteria as the biofilm breaks open, rather than just loosening it.
Other options include Natural Chemistry Spa Purge and Spa Marvel Cleanser, both liquid formulations that work on the same principle. They get mentioned as adequate alternatives when Ahh-Some isn’t available.
Oh Yuk is widely marketed but has underperformed in independent testing. Documented comparisons showed limited material extraction even with extended run times and repeat applications. Its label also doesn’t include a chlorine step during the purge, which means the bacteria exposed as biofilm breaks down aren’t being killed during the process.
The product you choose matters less than doing the purge at all. But if you’re going to spend the time draining and refilling, using the most effective product means you’re actually getting the plumbing clean.
How often to purge
Every drain cycle. If you drain every 3 to 4 months, purge every 3 to 4 months. Make it the first step of your drain routine, not an afterthought.
Before the first fill on a new tub. Factory water testing leaves residue in the plumbing. Weeks of damp storage during shipping create conditions for biofilm to form before you ever turn the tub on. A purge before the first fill costs 20 minutes and prevents the frustrating first-week chemistry problems that new owners often blame on their own inexperience.
And always purge immediately after buying a used tub. You don’t know the previous owner’s maintenance habits. Assume the worst, purge thoroughly (two to three rounds), and start with a clean system.
Prevention between purges
Purging removes established biofilm, but prevention between purges keeps new colonies from getting a foothold.
Maintain sanitizer at 3 to 5 ppm at all times. Biofilm forms faster when sanitizer drops below effective levels, especially overnight or during low-use periods. Don’t let the tub sit for days without testing and dosing.
Shock weekly. Oxidizing organic buildup in the water reduces the food source that feeds bacterial growth in the plumbing.
Run your filter cycles enough to keep water moving through the system at least once every 12 hours. Stagnant water in plumbing lines is where biofilm thrives. Circulation disrupts colonization.
Shower before soaking. Body oils, lotions, and cosmetics are the raw material that bacteria feed on. Less contamination in the water means less food reaching the plumbing.
Drain on schedule. Don’t stretch your water past the point where chemistry stops cooperating. Old, saturated water with high total dissolved solids creates a friendlier environment for biofilm growth.
None of these prevent biofilm entirely. Some bacterial colonization in plumbing is inevitable in a warm, wet system. But consistent maintenance slows the buildup enough that your quarterly purge handles it before it becomes a problem.
Frequently asked questions
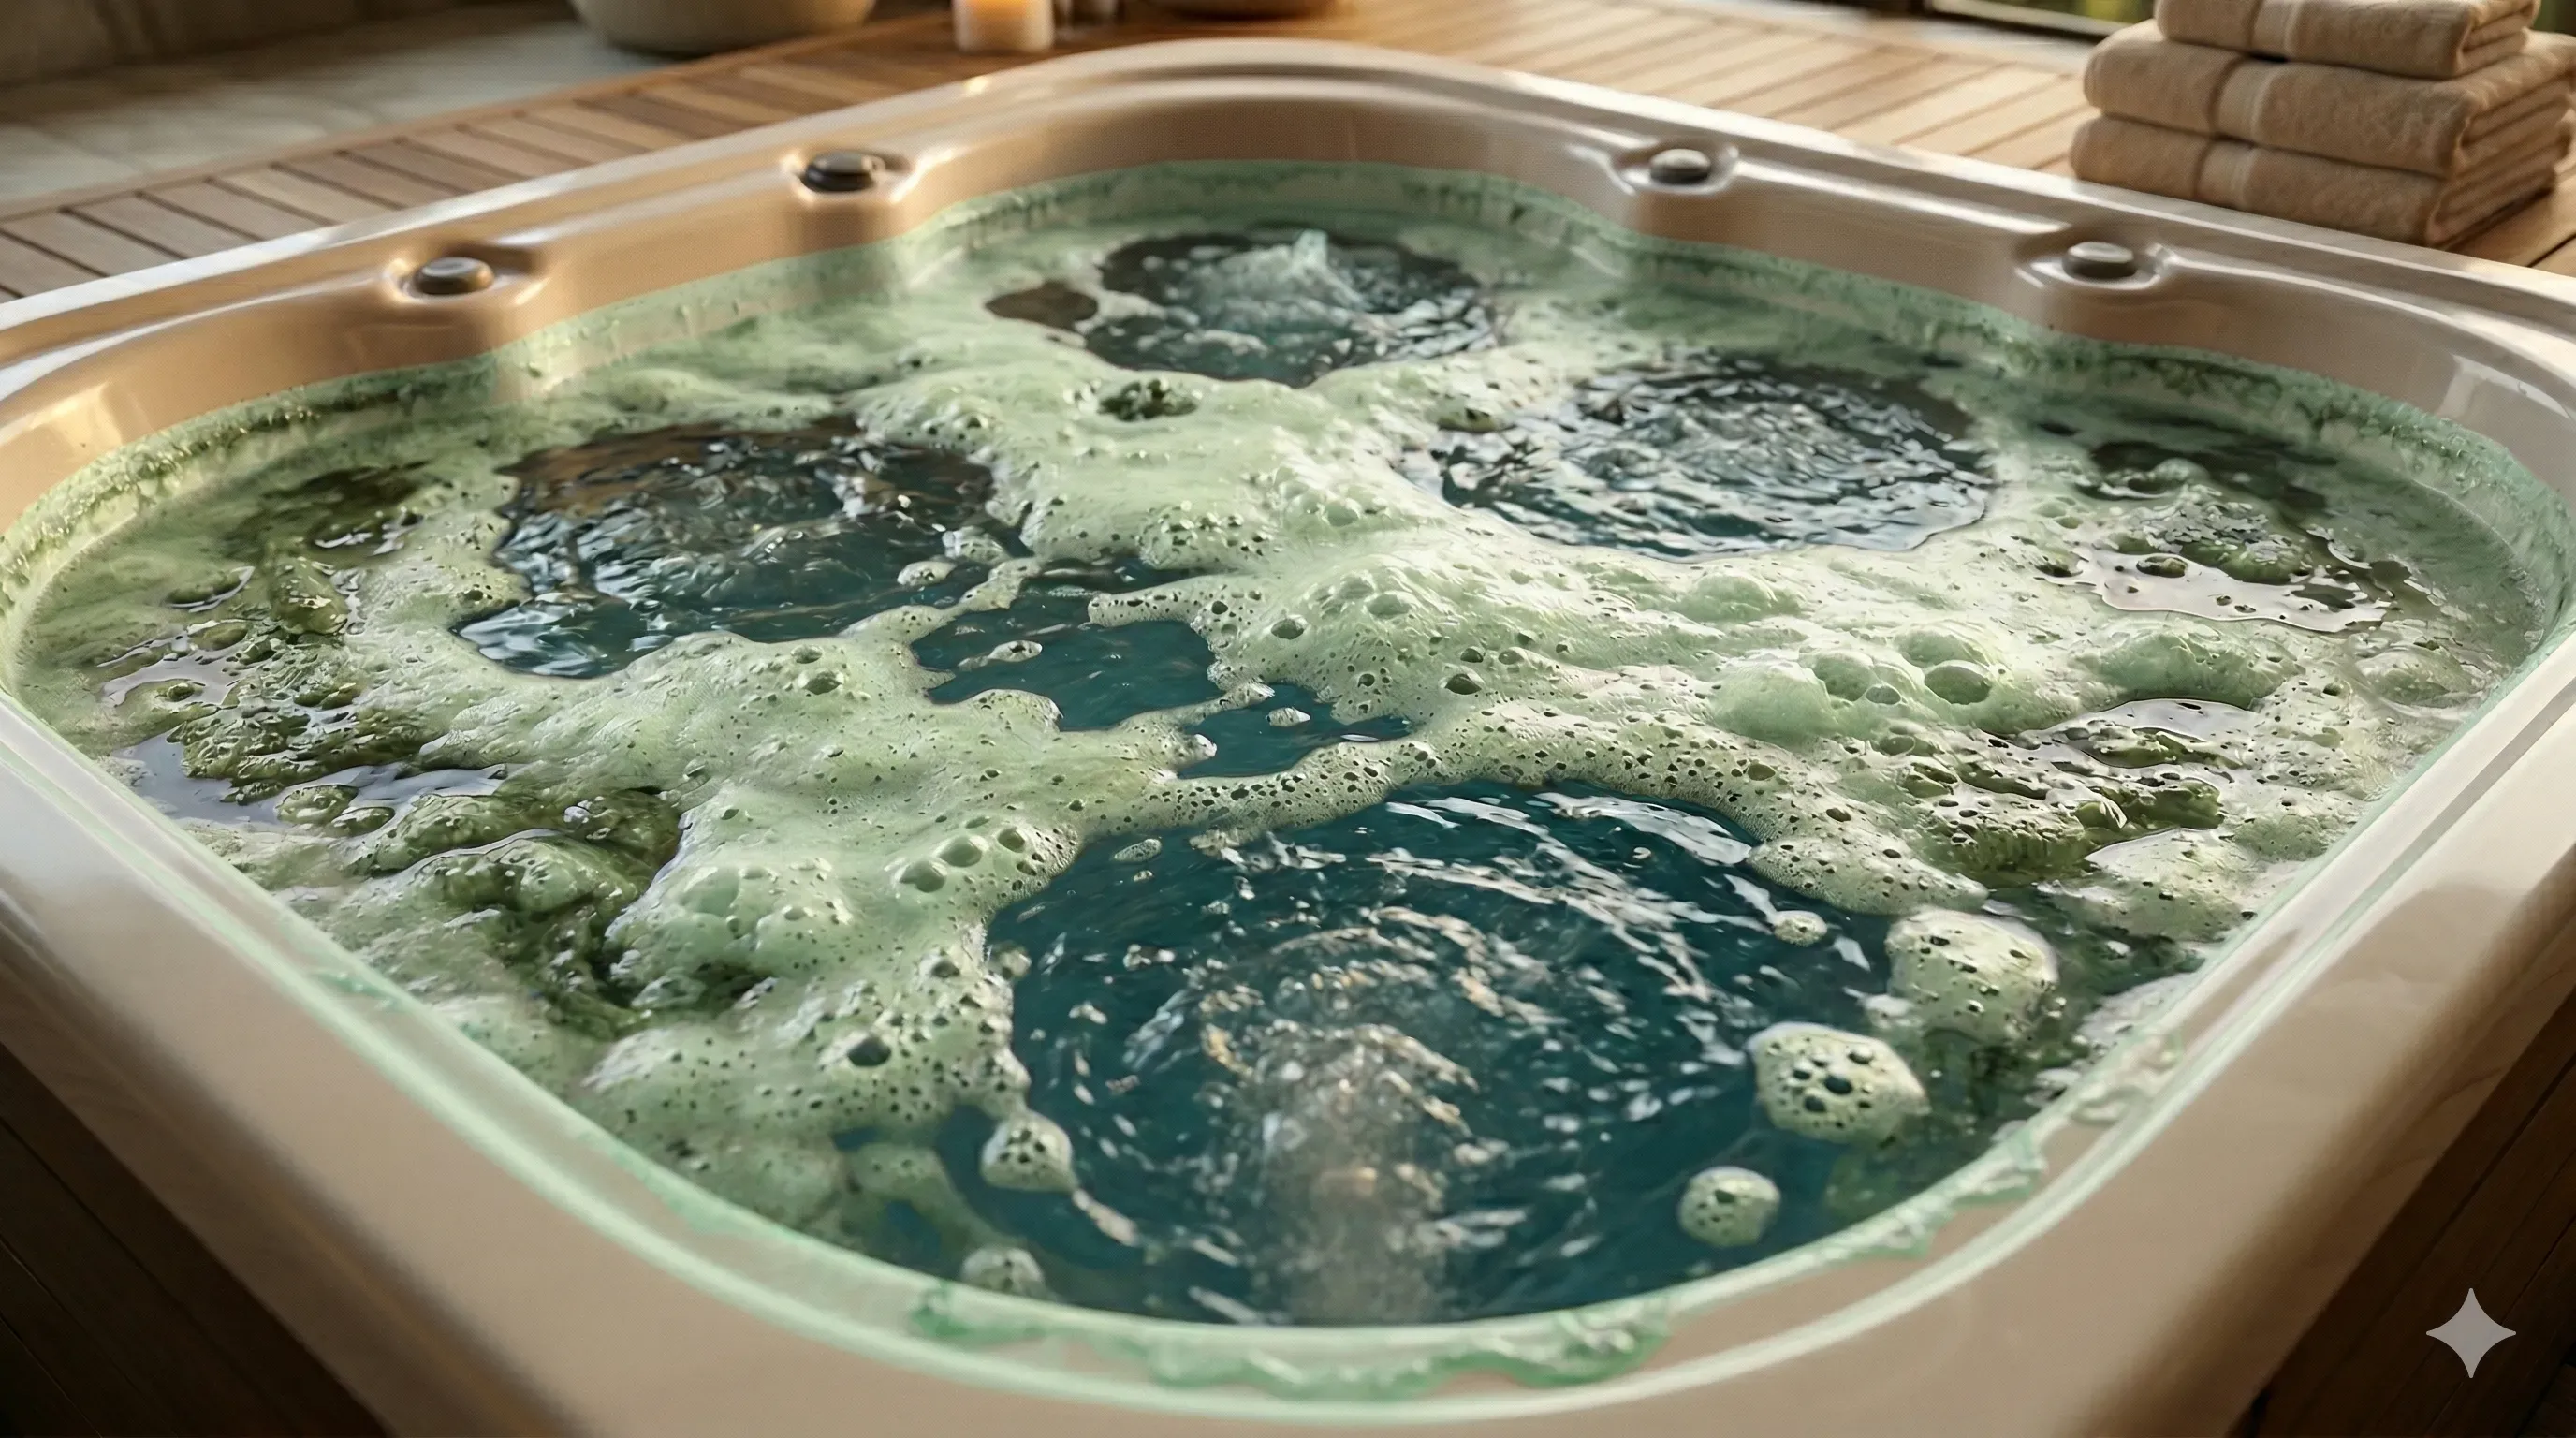
What does hot tub biofilm look like? You rarely see biofilm itself because it lives inside the plumbing. What you see are the symptoms: white flakes or chunks floating after jets run, cloudy water that won’t clear, foam that keeps returning, and chlorine that disappears faster than it should. During a purge, you’ll see brown or yellow gunk, sticky foam, and sometimes slimy residue on the surface.
Does chlorine kill biofilm in a hot tub? Not at normal levels. Chlorine at 3 to 5 ppm kills bacteria floating in the open water, but biofilm’s protective matrix shields the bacteria inside the colony. You’d need sustained levels far above what’s safe for soaking to even begin penetrating it. The only practical removal method is a plumbing purge product combined with mechanical water flow.
How often should I purge my hot tub plumbing? At every drain cycle, which means every 3 to 4 months. Also purge before the very first fill on a brand new tub and immediately after buying a used tub. If you’ve never purged, expect to need two or three consecutive rounds before the water runs clean.
What is the best hot tub biofilm remover? Ahh-Some is the most recommended product across independent forums and testing. It’s a concentrated gel that breaks through the lipid layer protecting biofilm colonies. Independent testing has shown it pulls out far more material than alternatives. Use about 1 tablespoon per 250 gallons.
Can a brand new hot tub have biofilm? Yes. New tubs are water-tested at the factory, then drained and shipped. The plumbing stays damp for weeks or months during storage and transit. Many experienced owners and spa technicians recommend purging a new tub before the first fill as standard practice.