How to Clean and Protect Your Hot Tub Cover
Your cover is being destroyed from both sides. UV from above, chemical vapor from below. A complete care guide to double its lifespan.
Your hot tub cover looks like it just sits there doing nothing. In reality, it’s the hardest working component of your entire setup. It prevents 75% of heat loss, keeps debris out, and saves a surprising amount on energy compared to running without one.
It’s also being destroyed from two directions simultaneously, and most owners don’t realize it until the cover weighs twice what it did when new.
What’s inside your cover
Understanding the construction explains why every maintenance step matters.
The outer layer is marine-grade vinyl, which provides UV resistance and weather protection. Inside are two foam inserts made of expanded polystyrene (EPS), usually tapered from 4 inches to 2 inches so water runs off rather than pooling. Each foam insert is wrapped in a polyethylene vapor barrier (usually 6-mil plastic) that’s heat-sealed to keep moisture out. A galvanized steel C-channel runs along the thick edge of each half for structural support, and a center hinge connects the two halves.
The vapor barrier is the hidden hero of this entire system. When it fails, everything else fails with it.
How to clean the top
Monthly cleaning keeps the vinyl supple and the UV coating intact.
- Rinse the entire top surface with a gentle garden hose spray to remove loose debris, pollen, and dirt.
- Apply a small amount of mild dish soap mixed with water, or use a dedicated vinyl cleaner like Leisure Time Cover Care and Conditioner.
- Wipe with a soft cloth or soft-bristle brush. Work in one direction rather than circular motions to avoid grinding dirt into the vinyl.
- Rinse thoroughly until all soap residue is gone. Leftover soap attracts dirt and degrades the vinyl coating.
- Let it dry completely before applying protectant.
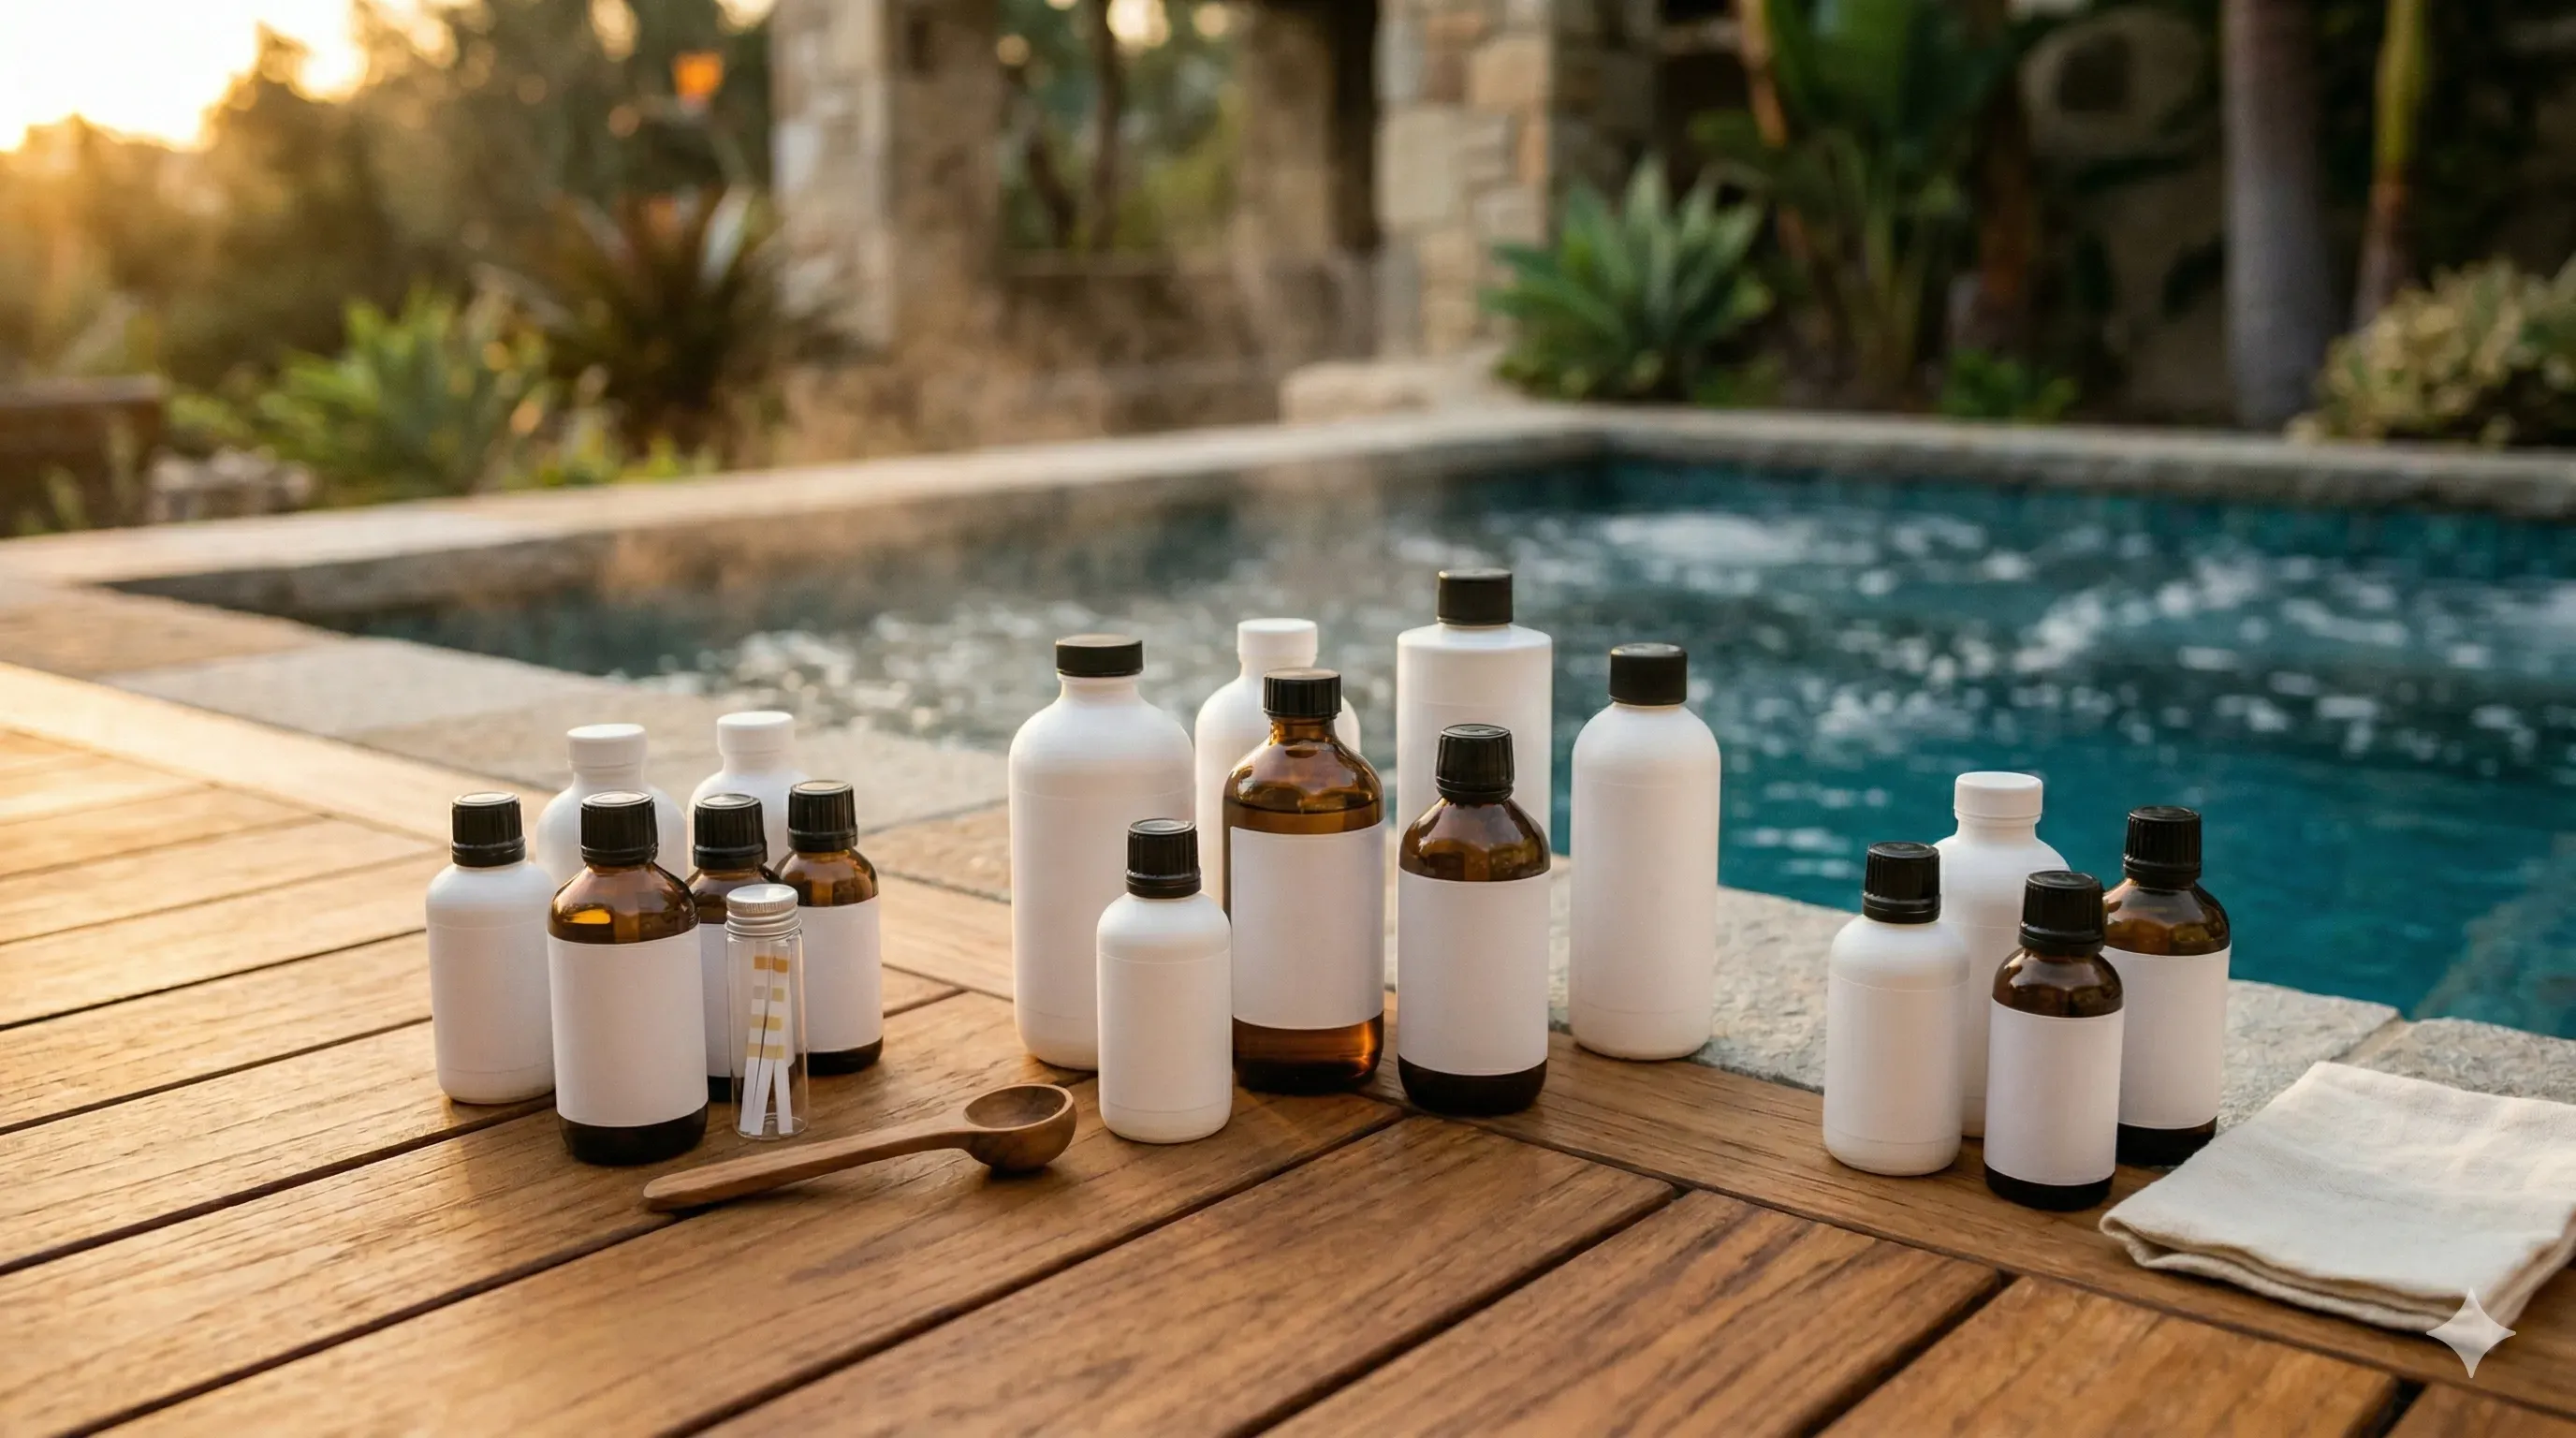
Safe cleaners: mild dish soap (a few drops in water), 1:1 white vinegar and water, Simple Green (diluted), or dedicated spa cover cleaners.
Never use: bleach (strips the protective coating), Armor All (contains petroleum and silicone that degrade vinyl), pressure washers (tears vinyl and forces water into seams), abrasive scrubbers, alcohol-based cleaners, or laundry detergent.
| Product | Safe? | Notes |
|---|---|---|
| 303 Aerospace Protectant | Yes | Gold standard UV protection |
| Mild dish soap (diluted) | Yes | For cleaning only, not regular use |
| White vinegar (1:1 with water) | Yes | Great for routine cleaning |
| Simple Green | Yes | pH-neutral, safe for vinyl |
| Armor All | No | Petroleum degrades vinyl |
| Bleach | No | Strips protective coating |
| Pressure washer | No | Forces water into foam |
How to clean the underside
The part everyone ignores is the part that needs the most attention.
The underside sits in a warm, dark, humid environment 24 hours a day. Chemical vapors from your sanitizer rise off the water surface and get trapped against the cover. This creates ideal conditions for mildew growth and vinyl degradation.
Quarterly cleaning process:
- Remove the cover and lay it flat, underside up.
- Wipe down with a 1:10 vinegar-to-water solution and a soft cloth.
- For mild mildew spots, use a 10:1 water-to-bleach solution. Scrub gently with a soft-bristle brush, then rinse thoroughly.
- Let the underside air out in the sun for a few hours. UV light is a natural mildew killer.
- Once completely dry, apply 303 Mold and Mildew Cleaner and Blocker (bleach-free, safe for vinyl) as a preventive.
The mildew escalation ladder:
If surface vinegar doesn’t work, move to diluted bleach (10:1). If that doesn’t work, unzip the vinyl shell and remove the foam cores. Clean inside the vinyl with a mildew treatment and let the foam dry separately in the sun. If mold has penetrated through the vapor barrier into the foam itself, the cover is past saving and needs replacement.
UV protection: your cover’s sunscreen
Ultraviolet radiation is the biggest external threat. UV triggers a chemical process called dehydrochlorination in the vinyl, breaking carbon-chlorine bonds in the PVC polymer chains. This creates conjugated double bonds that absorb visible light, which is why the first sign of UV damage is yellowing.
That yellowing isn’t cosmetic. It’s the vinyl literally decomposing at a molecular level. The plasticizers that keep it flexible get destroyed, and the material becomes brittle, then cracks. Once cracked, moisture reaches the foam core and waterlogging begins.
303 Aerospace Protectant is the industry standard for a reason. It absorbs UV radiation in the 300 to 380 nanometer range and converts it to harmless heat, blocking up to 98% of UV. It dries to a clear matte finish with no oily residue.
Application schedule:
- Every 3 to 5 weeks during spring and summer (peak UV)
- Monthly during fall and winter
- After every deep cleaning session
- More frequently for south-facing or full-sun installations
One bottle of 303 Aerospace Protectant lasts several months and is one of the highest return investments you can make for your cover.
Chemical vapor: the attack from below
Most owners never see this one coming.
Chlorine and bromine produce gaseous byproducts (chloramines and bromamines) that rise from the heated water surface. When the cover is closed, these vapors get trapped in the narrow space between water and cover. The vapor is acidic and corrosive.
It attacks three things in sequence: the underside vinyl, the stitching, and the polyethylene vapor barrier wrapping the foam. Low pH water makes this much worse because the vapor itself becomes more acidic. Shocking the tub with the cover on is especially destructive because oxidizers off-gas at high concentrations with no escape path.
The failure cascade:
- Chemical vapors make the polyethylene wrap brittle
- Brittle wrap cracks and loses seal integrity
- Water vapor penetrates to the foam core
- Foam absorbs water (waterlogging begins)
- Cover gets heavier and sags toward the water surface
- Sagging increases contact with chemical vapors
- Degradation accelerates
Prevention:
- Leave the cover completely off for 15 to 30 minutes after adding any chemicals, especially shock
- Maintain proper pH (7.2 to 7.8) to reduce acidic off-gassing
- Don’t over-chlorinate or over-brominate
- Air out the underside once or twice per week by cracking the cover open
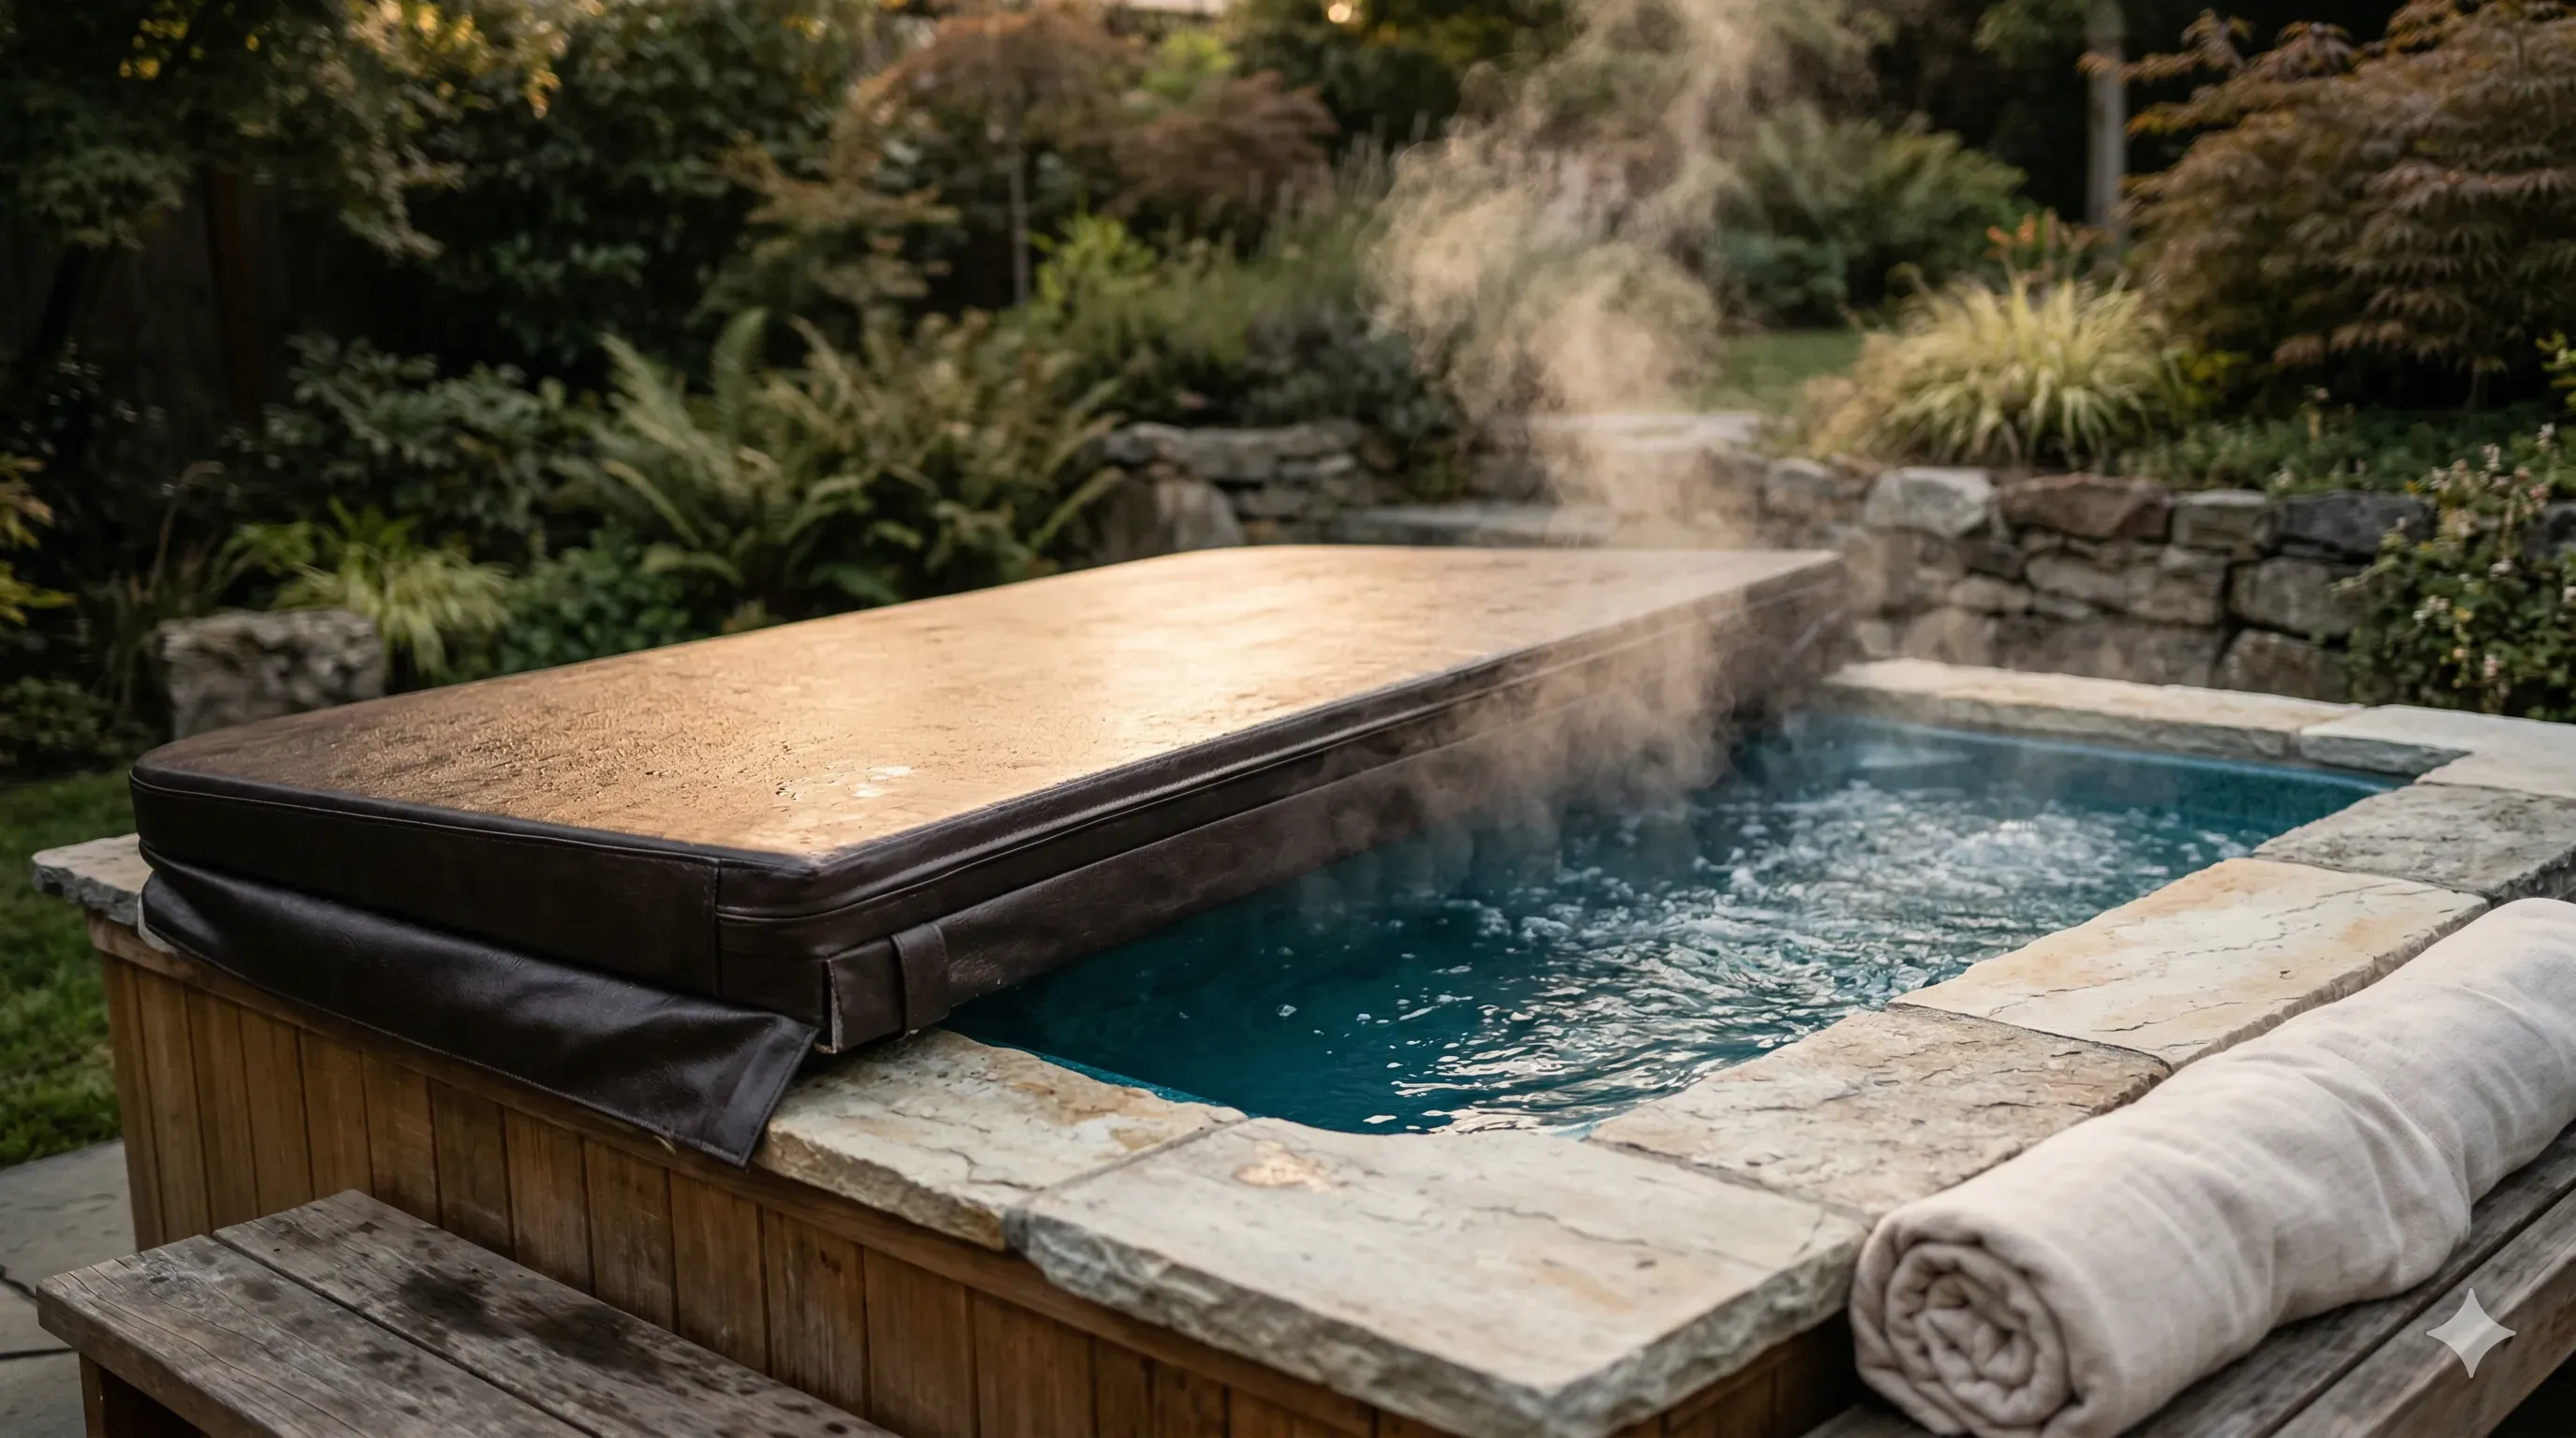
Waterlogging: why your cover gets heavy
EPS foam beads are individually closed-cell, so people assume the foam is waterproof. It isn’t.
The temperature difference between hot tub water (100 to 104 degrees) and cooler ambient air creates vapor pressure. Warm, moist air pushes upward through the honeycomb-like channels between foam beads. When the vapor cools, it condenses and gets trapped inside the foam core. Once water enters, it conducts heat better than the trapped air it replaces, which increases the temperature differential, which drives more vapor into the foam. The cycle accelerates itself.
A dry cover weighs roughly 25 to 30 pounds. A waterlogged cover can exceed 100 pounds. Water conducts heat 32 times faster than air, so a waterlogged cover can triple your heating costs compared to a dry one.
Once a cover is waterlogged, it cannot be dried out. The foam is permanently compromised and the cover must be replaced.
Seasonal care
Spring: Deep clean the entire cover. Inspect for winter damage: cracked vinyl, broken stitching, water weight. Unzip and check foam inserts for moisture or mold. Apply fresh 303 Protectant. Check your cover lifter hardware and tighten bolts.
Summer: Apply UV protectant every three to five weeks. Remove the cover briefly once or twice per week to let the underside breathe. Wipe down weekly to remove pollen, dust, and bird droppings. Trim nearby tree branches to reduce sap and debris.
Fall: Clean more frequently as leaves accumulate (rotting leaves cause mildew). Deep clean and apply protectant before winter. Inspect stitching, seams, and foam condition.
Winter: Remove snow promptly with a soft broom after each storm. Never scrape ice with metal tools or sharp objects. Let the tub’s heat soften ice from underneath before prying gently with a wooden broom handle. Check straps and clips to make sure the cover is secure against wind. Never pour hot water on a frozen cover.
When to repair vs. replace
Clean and keep using:
- Surface dirt, pollen, or leaf stains
- Light mildew on the vinyl surface only
- Minor fading (UV protectant slows further damage)
- Small tears (patch with TEAR-AID Type B vinyl repair patches)
Replace:
- Cover is noticeably heavier than when new (waterlogged)
- Sagging or bowing in the middle
- Cracked, torn, or brittle vinyl across large areas
- Persistent foul odor from mold inside the foam
- Foam is visibly cracked or broken when you unzip and inspect
- Cover no longer seals flat against the tub (heat escaping, gaps at edges)
- Water drips from the foam when the cover is tilted
- Cover is more than seven years old regardless of appearance
Investing in a cover lifter (CoverMate or Cover Valet, roughly 70 to 200 dollars for manual models) extends cover life by years by eliminating the dragging, dropping, and rough handling that tears vinyl and breaks foam.
The quick-reference care schedule
| Task | Frequency |
|---|---|
| Brush off debris, leaves, snow | As needed |
| Wipe down with damp cloth | Weekly |
| Full cleaning (soap, rinse, dry) | Monthly |
| Apply 303 Protectant | Every 3 to 5 weeks in summer, monthly otherwise |
| Air out underside | 1 to 2 times per week |
| Clean underside with vinegar solution | Quarterly |
| Unzip and inspect foam inserts | Seasonally |
| Check cover lifter hardware | Seasonally |
| Inspect seams, stitching, straps | Seasonally |
Frequently asked questions
How often should I clean my hot tub cover? Wipe the top with a damp cloth weekly to remove debris. Do a full cleaning with mild soap or vinyl cleaner monthly. Apply UV protectant like 303 Aerospace Protectant every three to five weeks during sunny months and monthly in winter. Clean the underside quarterly with a diluted vinegar solution and check for mildew.
What should I never use on a hot tub cover? Never use Armor All (contains petroleum that degrades vinyl), bleach on the top surface (strips the protective coating), pressure washers (forces water into seams and foam), abrasive scrubbers, alcohol-based cleaners, or silicone-based products. All of these damage vinyl and shorten cover life. Stick to mild soap, vinegar, or dedicated vinyl cleaners.
Why is my hot tub cover getting heavy? A heavy cover means waterlogged foam. The vapor barrier (polyethylene wrap around each foam insert) has failed, allowing steam from your hot tub water to penetrate the foam core. Water conducts heat 32 times faster than the trapped air in dry foam, so your cover loses insulation rapidly. Once foam is waterlogged, it cannot be dried out. The cover needs replacement.
How long should a hot tub cover last? A well-maintained cover lasts five to seven years. With neglect, expect three years or less. The biggest lifespan killers are UV exposure without protectant, chemical vapor damage from closing the cover right after shocking, dragging instead of lifting, and snow or ice accumulation. A cover lifter and regular UV treatment are the two highest return investments.
Should I leave my hot tub cover off after adding chemicals? Yes. Leave it completely off for at least 15 to 30 minutes after adding any chemicals, especially after shocking. Chemical vapors get trapped between the water surface and the cover underside, creating an acidic environment that attacks the vinyl, stitching, and vapor barrier. This is the single biggest cause of premature cover failure.
What is the best protectant for a hot tub cover? 303 Aerospace Protectant is the industry standard. It provides up to 40% better UV protection than competing vinyl protectants, dries to a clear matte finish with no greasy residue, and is water-based with no silicone. Apply it to the top and sides of the cover every three to five weeks during summer months. A 16-ounce bottle lasts several months of treatments.