Hot Tub Startup After Draining: Chemical Restart Guide
Just drained and refilled your hot tub? Here's the exact chemical order, specific dosing amounts, and the mistakes most owners make.
You drained your hot tub, scrubbed the shell, and refilled with fresh water. The hard part isn’t the physical work. It’s the chemistry. Get the sequence wrong and you waste product, chase numbers in circles, or end up with water that looks worse than before.
This drain and refill is part of your regular maintenance schedule. The whole process takes about two to three hours of active work spread across an afternoon. By evening, you should be soaking in clean, balanced water. Here’s every step with specific dosing amounts, wait times, and what to do when something doesn’t go as planned.
Before you add anything: flush and fill
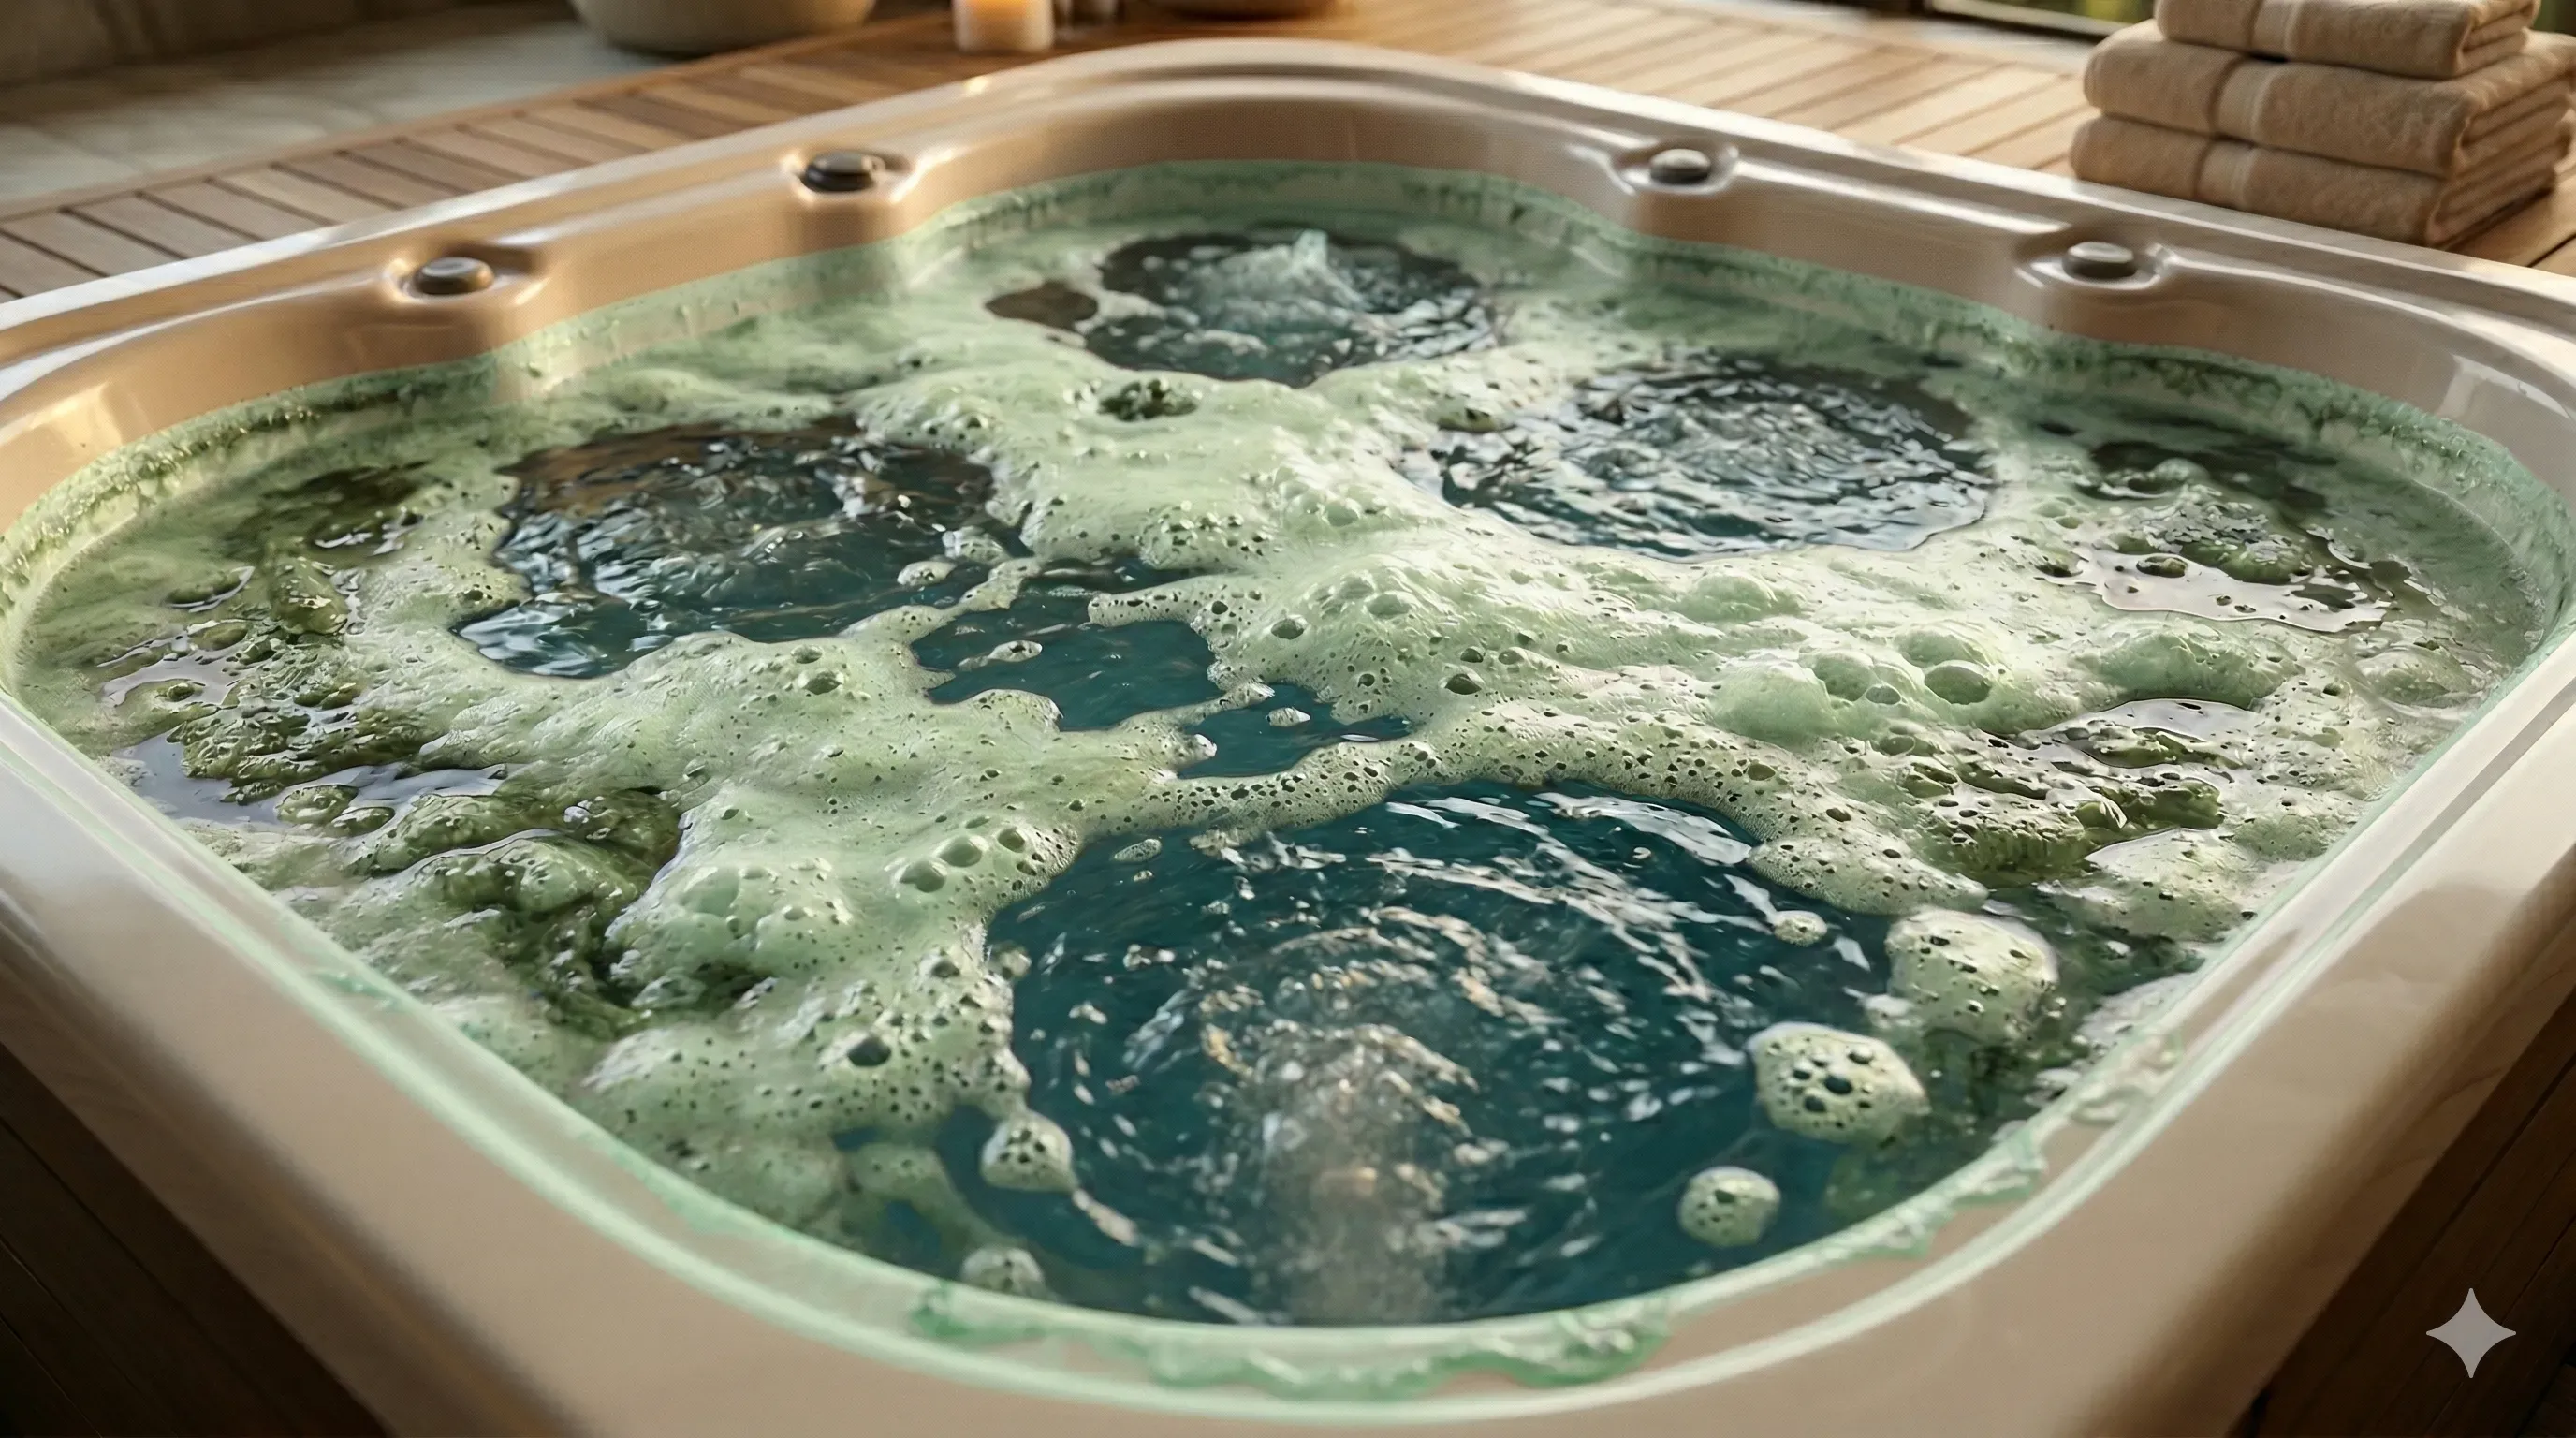
If you didn’t flush your plumbing lines before draining, you missed the most important step. Seriously. Old biofilm and residue hiding inside your pipes will contaminate your fresh water within days, no matter how perfectly you balance the chemistry.
How to flush: With the old water still in the tub, add a pipe flush product. Ahh-Some (about 1 tablespoon per 250 gallons) and Oh Yuk (follow label directions, usually 4 to 8 oz) are the two most common. Run every jet group on high for 20 to 30 minutes. You’ll see foam and gunk rising to the surface. Sometimes it’s brown, sometimes white and flaky, sometimes genuinely disgusting. That’s biofilm that was living in your plumbing. The worse it looks, the more necessary this step was.
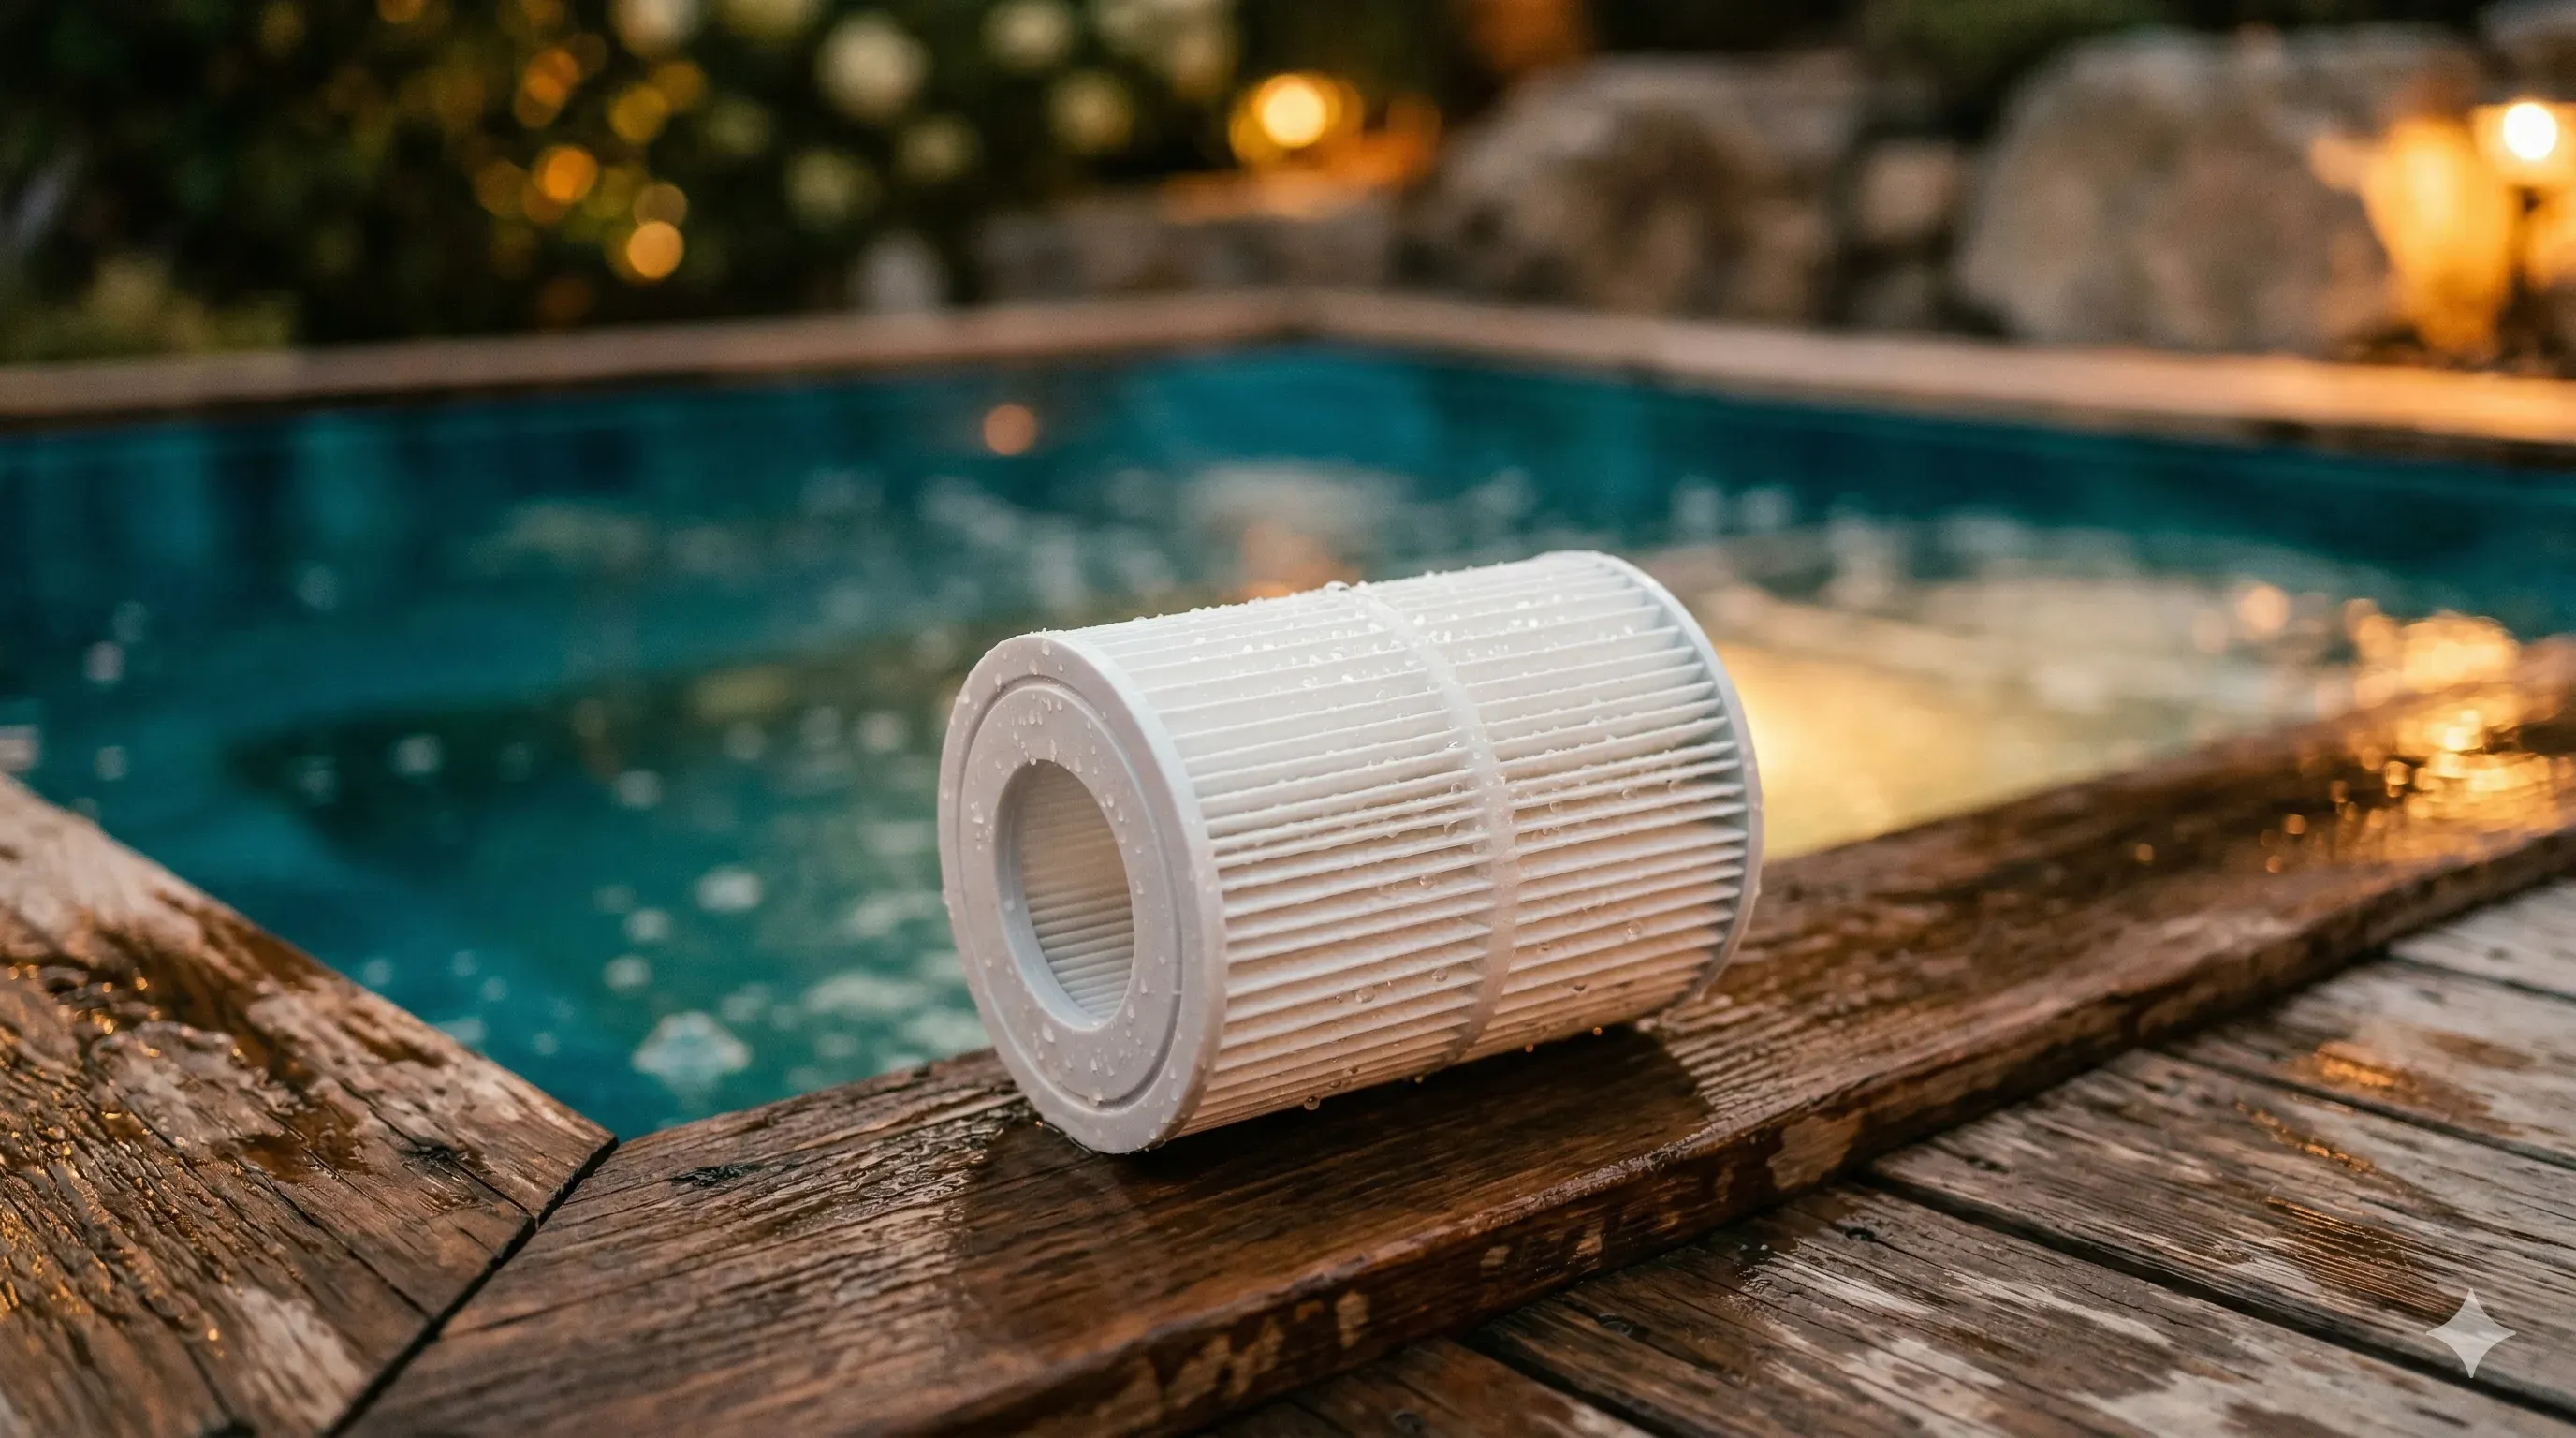
Drain the tub completely. Wipe the shell down with a spa surface cleaner (not household cleaners, which contain surfactants that cause foaming problems later). Pay attention to the waterline, jet faces, and any crevices where gunk collects.
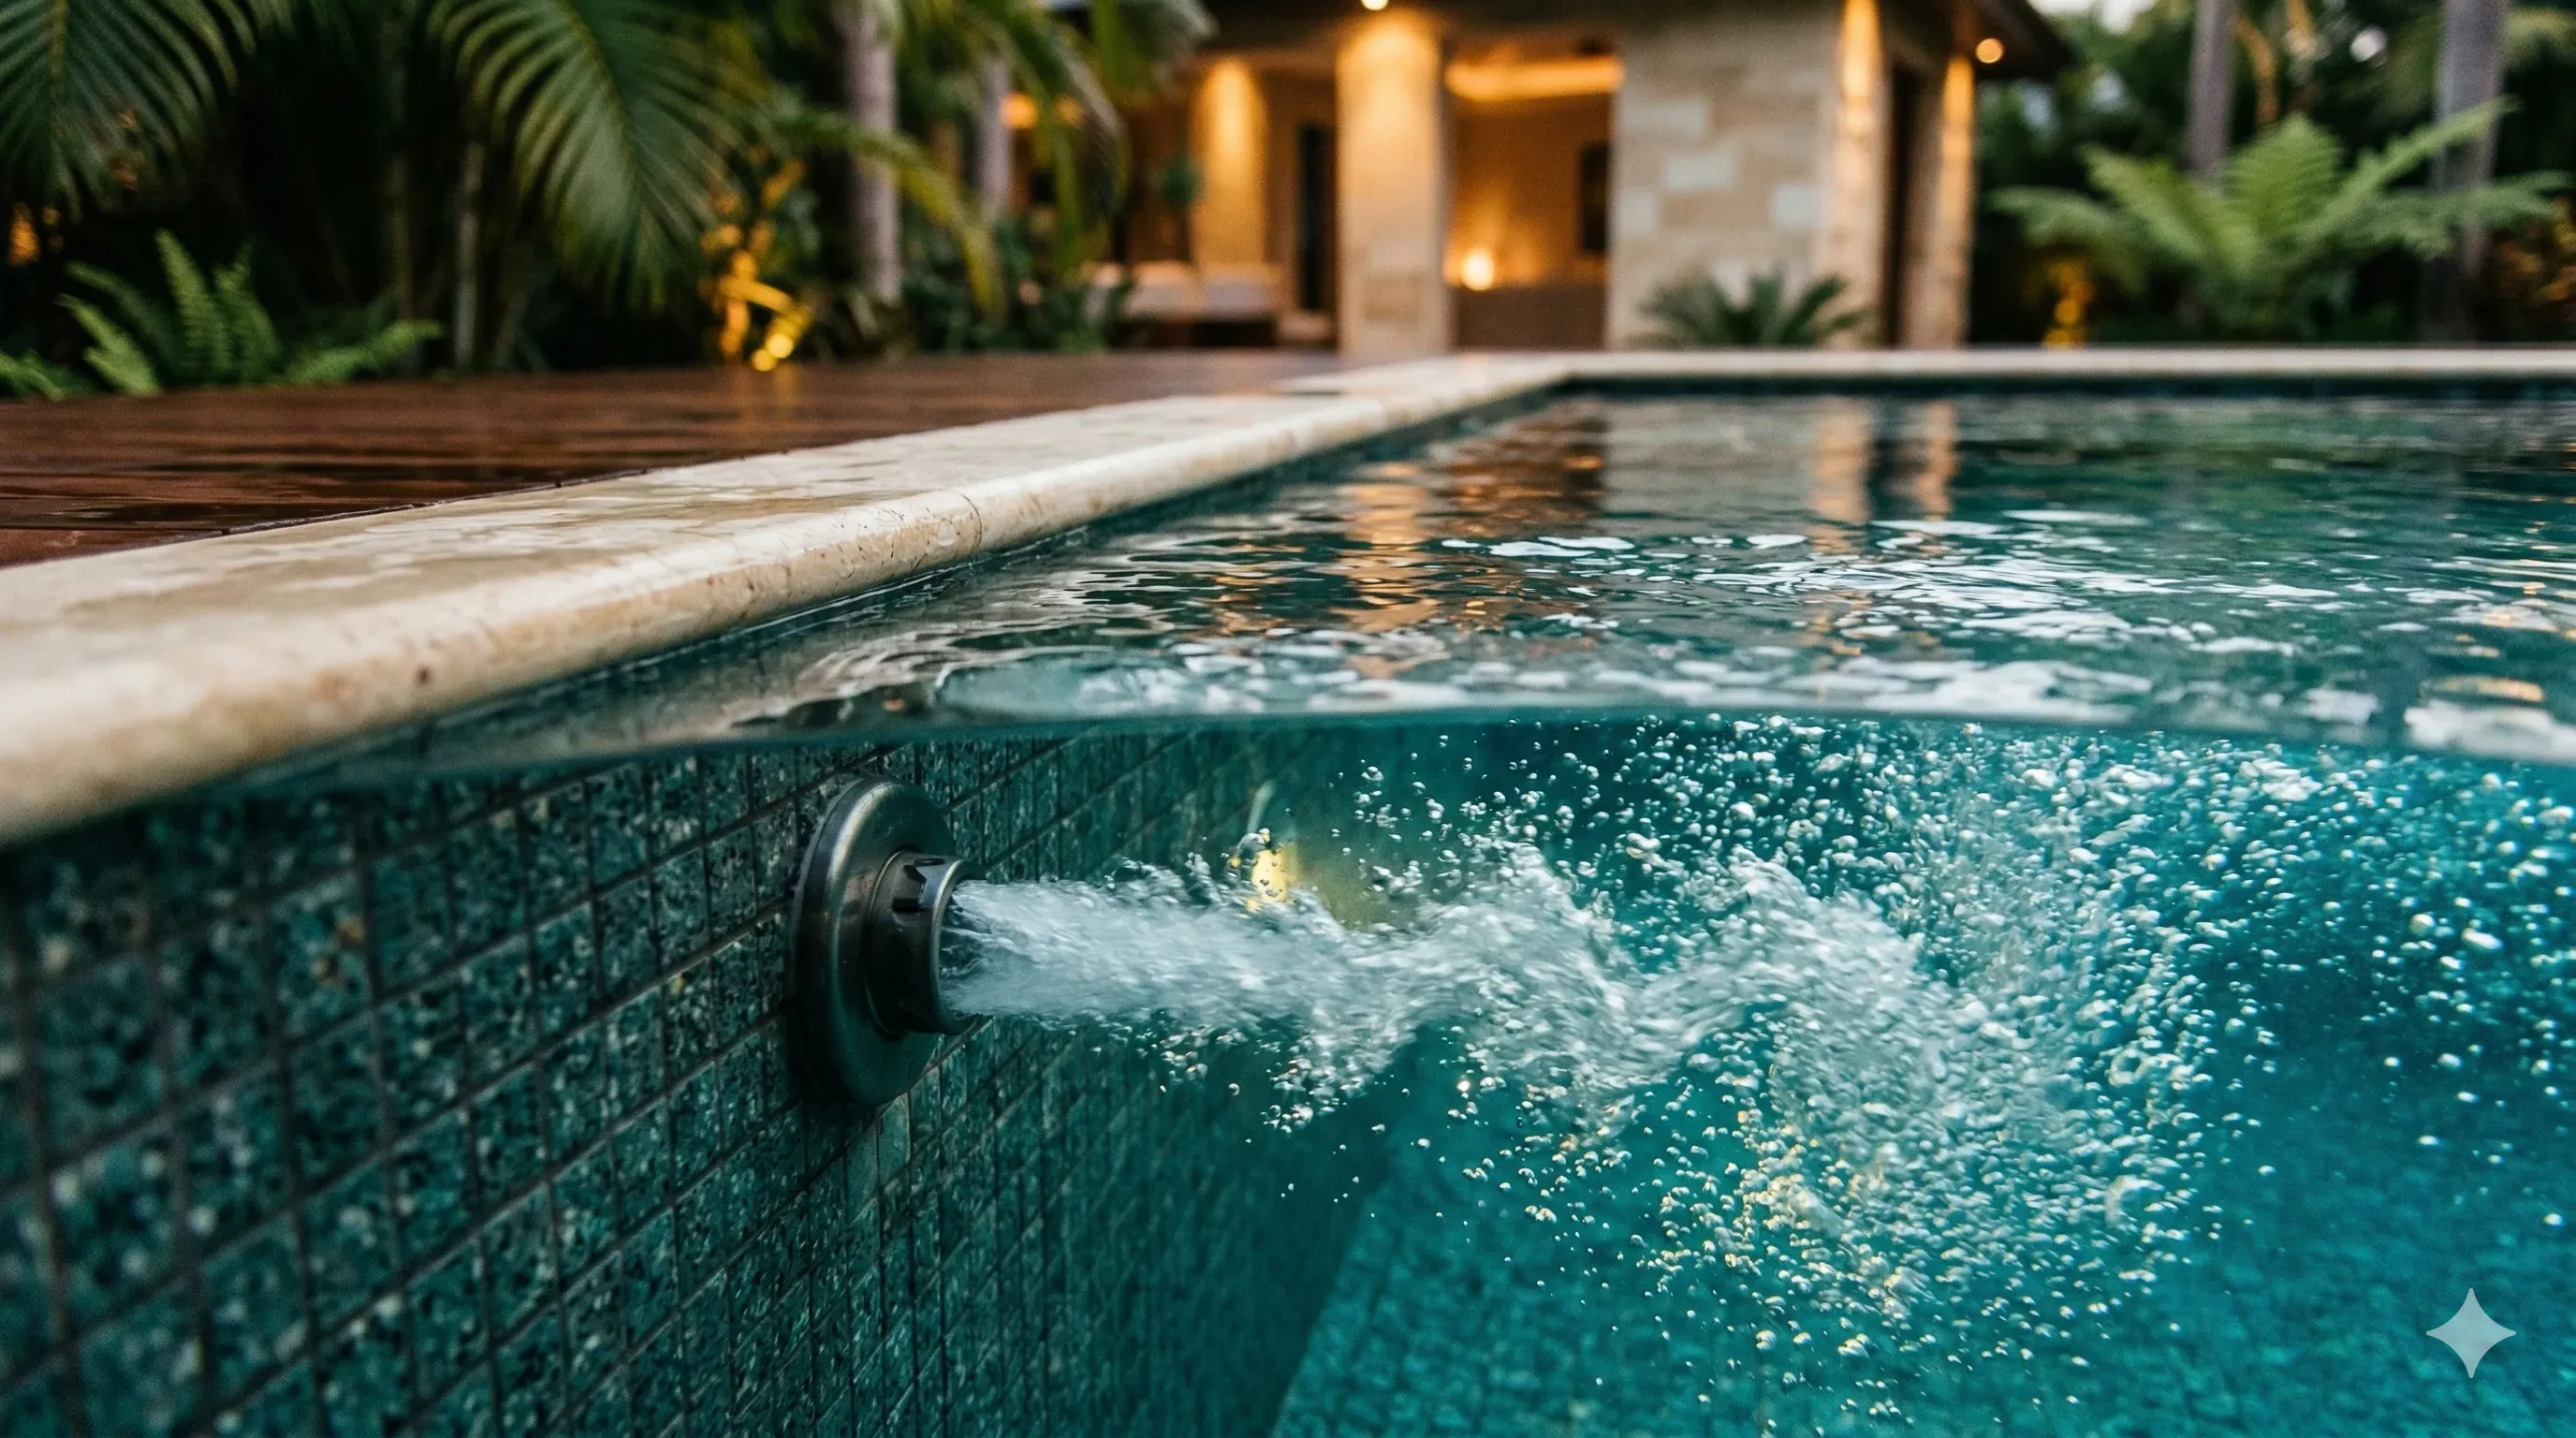
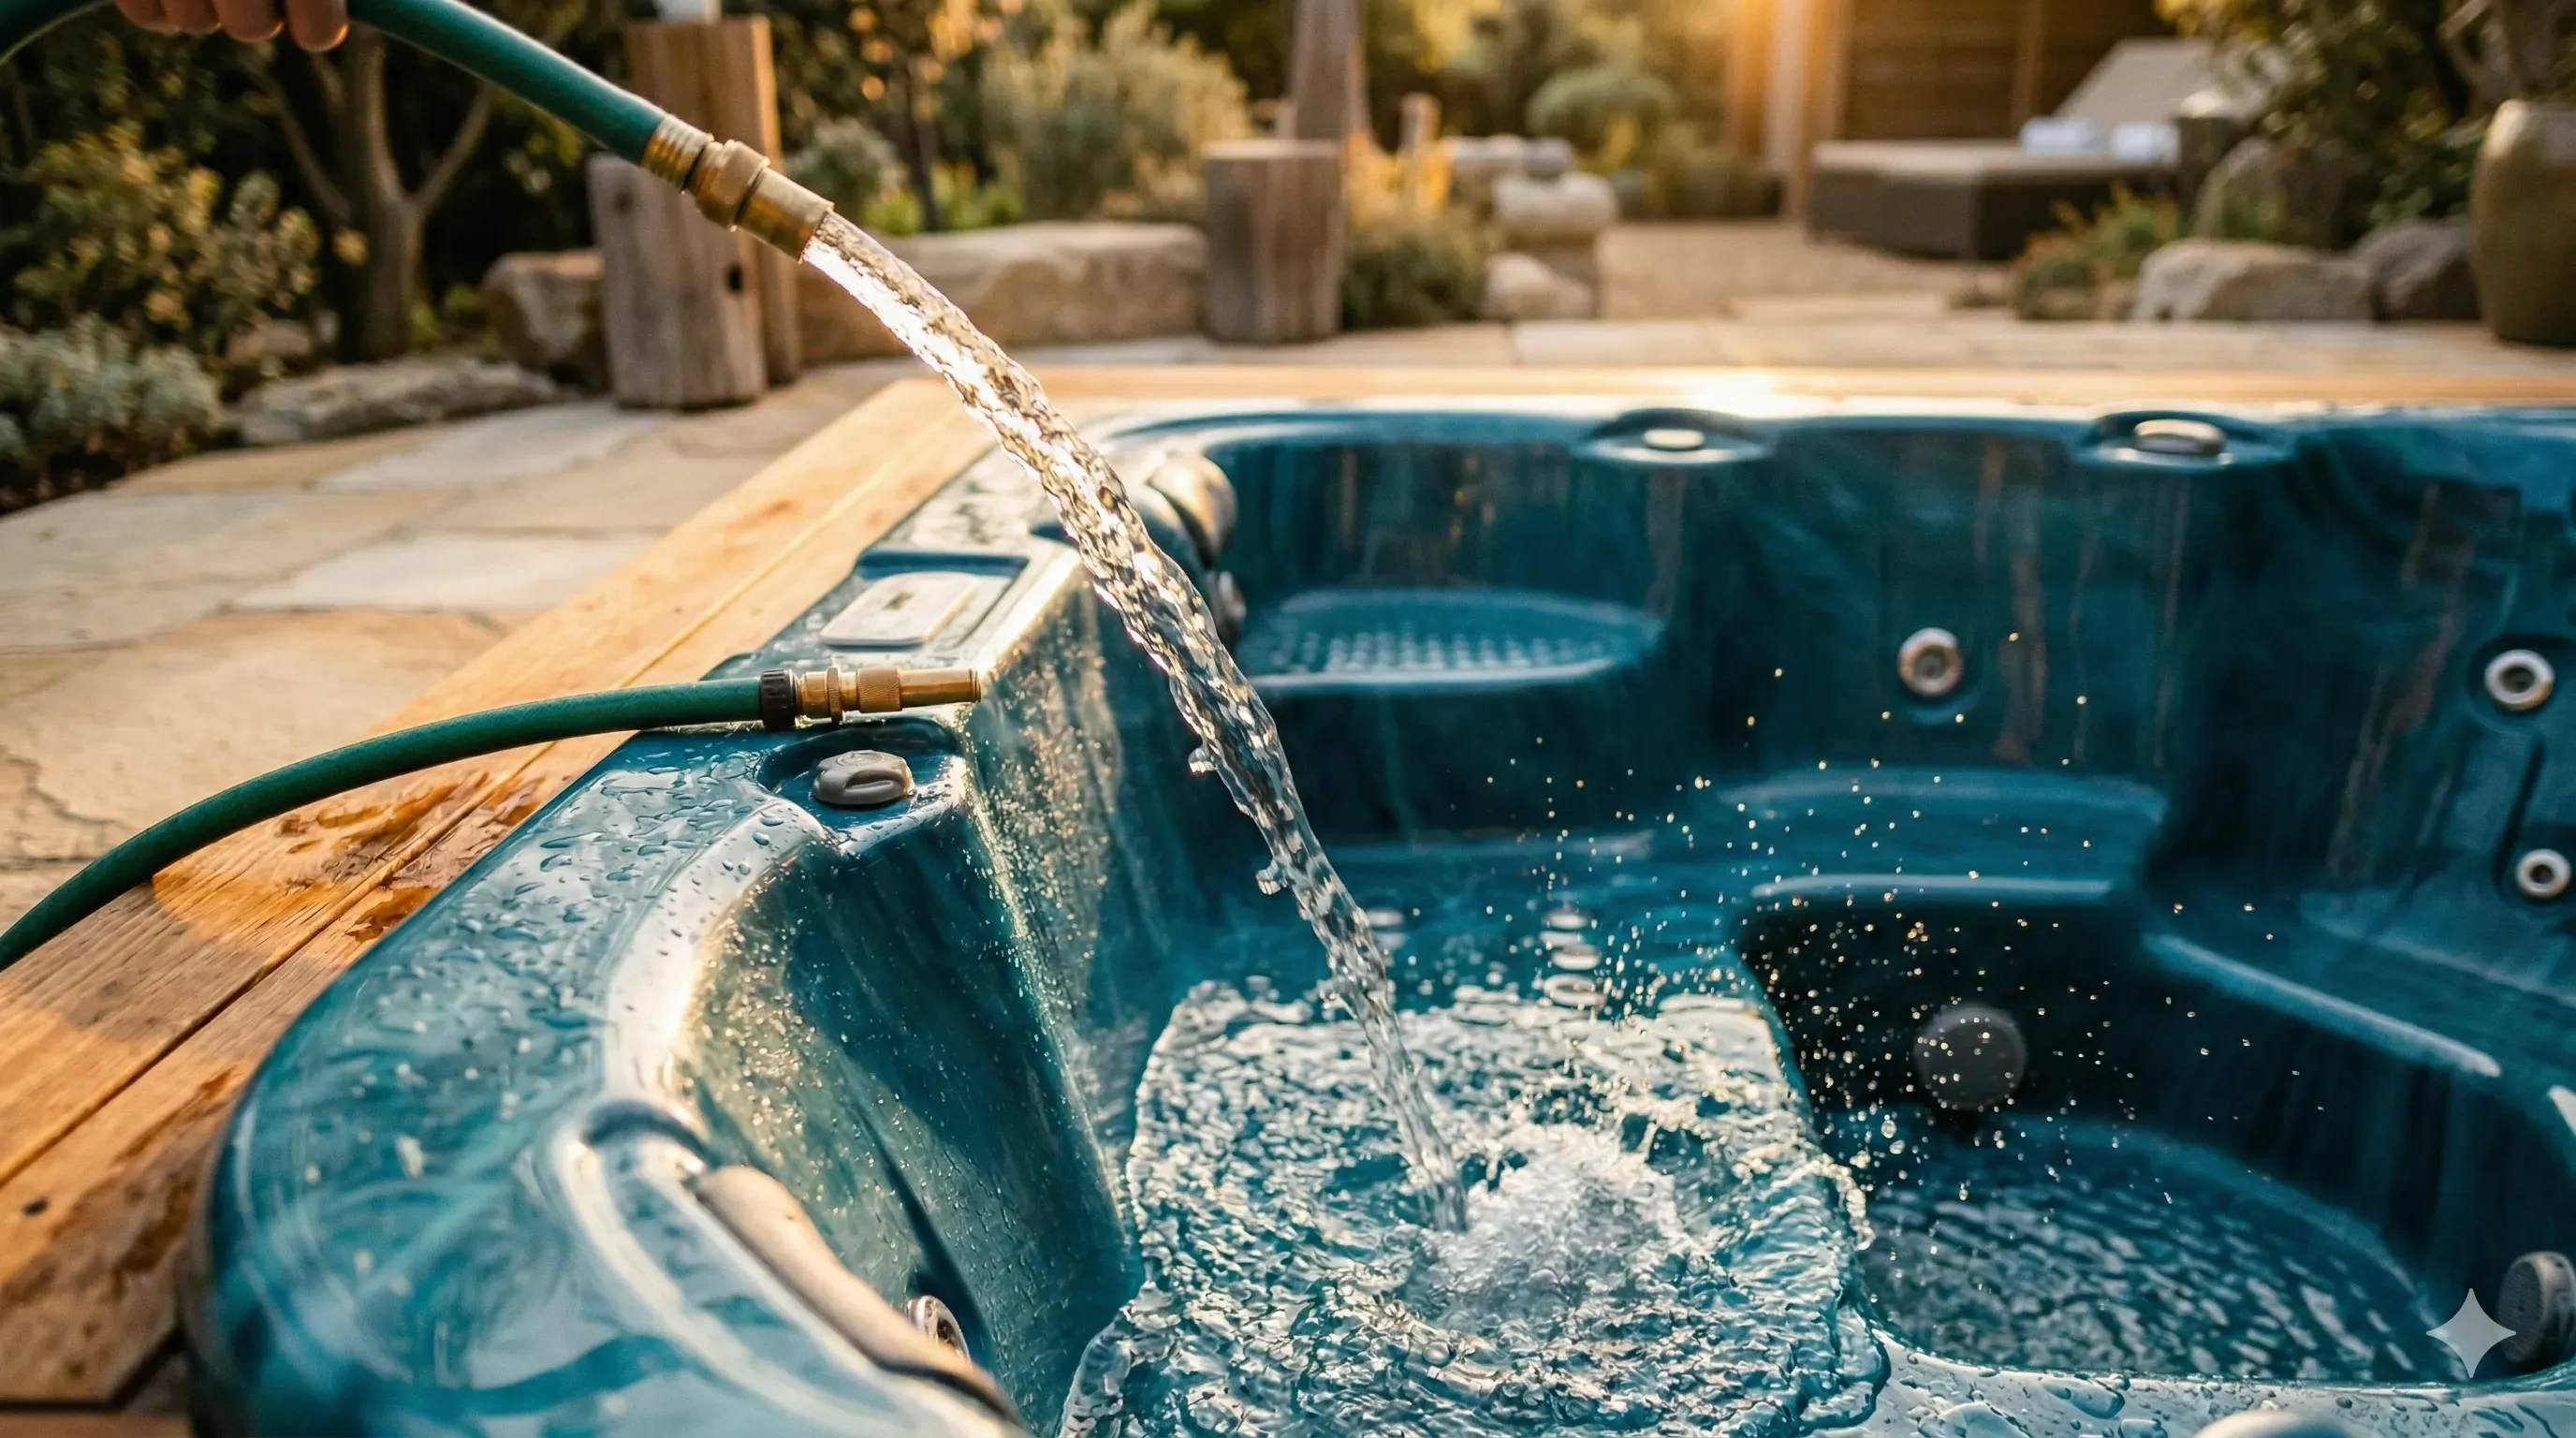
How to fill: Fill through the filter housing rather than dumping the hose straight into the shell. Stick the hose into the filter compartment or skimmer well. This forces water through the plumbing from the inside out, pushing out air pockets that cause sputtering and circulation problems later. If you fill directly into the shell, air gets trapped in the plumbing lines and can take hours of jet cycling to clear.
If your tap water is hard (above 200 ppm calcium) or contains metals (common with well water), attach a hose pre-filter. They screw onto a standard garden hose and remove sediment, iron, copper, and excess calcium before the water ever reaches your tub. One small purchase saves you from fighting source water problems for the entire fill cycle.
Step 1: Power on and heat up
Turn on the power and let the tub begin heating. The water needs to reach at least 80°F before you add any chemicals. Below that temperature, chemicals dissolve poorly and can damage the acrylic surface. You don’t need to wait for the full 100°F to 104°F operating temperature, but 80°F is the minimum safe threshold.
Run the jets on low while it heats. Listen for sputtering or look for large air bursts from the jet nozzles. That’s trapped air. Keep the jets running until the flow is smooth and consistent. If air keeps returning, check that the filter is properly seated and the skimmer isn’t drawing air.
Step 2: Test your fill water before touching anything
Most people skip this step, and it’s the single biggest reason startups go sideways. Before adding a single chemical, test the water as it comes from the tap. Check total alkalinity, pH, calcium hardness, and any existing chlorine or chloramine.
Write the numbers down. This baseline tells you exactly what your source water needs, and it’s different for everyone depending on where you live. Someone in Phoenix with 300 ppm calcium hardness and pH 8.2 needs a completely different approach than someone in Seattle with 40 ppm calcium and pH 6.8.
If you skip this step, you’re guessing. You’ll add alkalinity increaser to water that might already have plenty. You’ll add calcium hardness increaser to water that’s already borderline too hard. And you’ll spend the next two hours correcting problems you created yourself.
Step 3: Adjust total alkalinity first
Always start with alkalinity. It acts as a buffer for pH (we cover this in depth in our pH balancing guide). When alkalinity is in range, pH changes slowly and predictably. When alkalinity is off, pH swings wildly every time you add anything, and you’ll chase numbers in circles all afternoon.
Target: 80 to 120 ppm.
If alkalinity is low (common with soft water): Add sodium bicarbonate (alkalinity increaser, or plain baking soda from the grocery store, which is chemically identical). Dosing: approximately 1 tablespoon per 100 gallons raises alkalinity by about 10 ppm.
Worked example: Your 400 gallon tub tests at 50 ppm alkalinity. You want to reach 90 ppm, so you need a 40 ppm increase. That’s 4 tablespoons per 100 gallons times 4 (for 400 gallons) = 16 tablespoons, or 1 cup. Sprinkle it across the surface with the jets running. Wait 20 minutes. Retest. If you’re close but not quite there, add a small correction dose.
If alkalinity is high (above 120 ppm): Don’t add an alkalinity decreaser. You’ll bring it down in the next step when you add pH decreaser, which lowers both pH and alkalinity at the same time.
If alkalinity doesn’t budge after adding increaser: Your water temperature might be too low (below 80°F), or you didn’t circulate long enough. Give it another 15 minutes of jet circulation and retest.
Step 4: Adjust pH
Once alkalinity is in range, test pH. Your target is 7.4 to 7.6.
If pH is high (above 7.6): This is the most common scenario with fresh fill water. Municipal water supplies often deliver water at pH 7.8 to 8.2. Add sodium bisulfate (pH decreaser, also called “dry acid”). Start with 1 tablespoon per 200 gallons for a small adjustment. Circulate for 15 to 20 minutes, then retest. It’s much easier to add more than to overshoot and then need pH increaser to correct the correction.
If pH is low (below 7.2): Add sodium carbonate (pH increaser, also called “soda ash”). Same approach: small dose, circulate, retest. Low pH fill water is less common but happens with some well water sources.
If pH won’t move down despite adding pH decreaser: Your alkalinity is probably too high and is buffering the pH change. Go back and lower alkalinity first (pH decreaser will do both, but you may need more than expected), then fine tune pH.
If pH won’t move up despite adding pH increaser: Try aerating the water instead. Run the jets on high with the cover off for 30 to 60 minutes. Outgassing CO2 naturally raises pH without affecting alkalinity. This is often more effective than chemical addition for stubborn low pH.
Step 5: Adjust calcium hardness
Test calcium hardness. Target: 150 to 250 ppm.
If calcium is low (below 150 ppm): Add calcium chloride (calcium hardness increaser). Important: dissolve it in a bucket of warm water first, then pour the solution into the tub with the jets running. Adding dry calcium chloride directly to the tub can leave white residue on the shell that’s difficult to remove.
Dosing: about 1 tablespoon of calcium chloride per 100 gallons raises hardness by roughly 10 ppm. For a 400 gallon tub that tests at 80 ppm and needs to reach 175 ppm, you’d need about 38 tablespoons (roughly 2.5 cups). Add it in stages, half at a time, with 20 minutes between additions.
If calcium is high (above 250 ppm): Nothing will bring it down chemically. This is where a hose pre-filter at fill time would have helped. Your options now: live with it and manage the scale risk (keep pH at 7.4 to prevent scaling), do a partial drain and refill with softer water, or add a scale prevention product.
Critical warning: Calcium hardness is the one measurement you absolutely cannot overcorrect. Once you add too much calcium chloride, the only fix is draining some water out and replacing it with lower calcium water. Always test before adding, and err on the side of less.
Step 6: Add sanitizer
Now that your water is balanced, your sanitizer can do its job. Balanced water matters because chlorine is far less effective outside the ideal pH range. At pH 7.4, about 53% of your free chlorine is in the active form (hypochlorous acid). At pH 8.0, only about 22% is active. You’d need more than twice as much chlorine to get the same sanitation effect.
For chlorine (dichlor) users: Add dichlor granules (not trichlor) at a startup dose of 5 to 8 ppm free chlorine. That’s roughly 1 teaspoon per 100 gallons for a 5 ppm target, or 1.5 teaspoons per 100 gallons for 8 ppm. For a 400 gallon tub aiming for 5 ppm: about 4 teaspoons. Sprinkle over the surface with jets running.
For bromine users: The startup is a two step process. First, add sodium bromide (“bromine booster”) to establish a bromide reserve in the water. About 2 tablespoons for a 300 to 400 gallon tub. Then immediately follow with a chlorine shock (dichlor at the higher end of the dosing range). The chlorine shock oxidizes the sodium bromide, converting it into active bromine. From here on, your bromine tablets in a floater maintain the level.
Step 7: Shock the water
Shocking after a fresh fill isn’t optional, regardless of your sanitizer type. Tap water isn’t sterile. Municipal water contains trace bacteria, organic matter, and chloramines from the treatment plant. Well water can carry metals, sulfur bacteria, and higher bacterial loads. An initial shock dose handles all of this.
If you used dichlor in step 6 at the higher 8 ppm dose, that doubles as your shock. If you used a lower startup dose, add additional dichlor to bring free chlorine to 10 ppm. Alternatively, use a non-chlorine shock (MPS, potassium monopersulfate) at label dosing.
After shocking, leave the cover off or cracked open for 20 to 30 minutes. Shock produces off-gases (primarily nitrogen trichloride) that need to vent. Sealing the cover immediately traps those gases against the underside, which deteriorates the vinyl, foam core, and even nearby metal hardware over time. This is one of the top causes of premature cover failure that nobody talks about.
Step 8: Wait, then test everything again
Give the water at least four to six hours (overnight is ideal) with the jets cycling before you test everything one more time. You’re looking for:
- Free chlorine: 1 to 3 ppm (or bromine: 3 to 5 ppm)
- pH: 7.4 to 7.6
- Total alkalinity: 80 to 120 ppm
- Calcium hardness: 150 to 250 ppm
If any reading is off, make small adjustments. Remember the rule: change one thing at a time, circulate for 15 to 20 minutes, then retest before changing anything else.
Once everything is in range and your sanitizer is below 5 ppm, the tub is ready to use.
Where most people go wrong
Adding everything at once. Chemicals interact with each other. Mixing sanitizer, pH adjuster, and shock at the same time creates reactions that consume product without doing useful work, and makes your test readings unreliable for the next hour. Wait 15 to 20 minutes between each chemical addition. Yes, it makes the process slower. That’s the point.
Adjusting pH before alkalinity. If pH is unstable, it’s almost always because alkalinity is wrong. Fix alkalinity first. Then pH often corrects itself or needs only a small nudge.
Skipping the initial shock. Your fill water came from a municipal treatment plant or a well. Neither source is sterile. Shocking on day one eliminates whatever came in with the water and gives you a clean starting point.
Following a generic guide instead of testing. If your tap water already reads 300 ppm calcium hardness and you add more calcium increaser because a guide told you to, you’ll have scale problems within weeks. Test your fill water and respond to what you actually see. Your water isn’t the same as the guide author’s water.
Not waiting for the water to reach 80°F. Chemicals dissolve poorly in cold water. Granular products can settle on the shell and leave stains or white marks. If it’s cold out and your heater is slow, be patient. Add chemicals when the water is ready, not before.
How long until you can soak?
From fresh fill to first soak, expect roughly 12 to 24 hours total. Most of that is heating time. The chemical balancing takes two to three hours of active work spread across the afternoon, with 15 to 20 minute waits between additions.
The thing that actually decides when you can get in is your sanitizer level after shocking. You want free chlorine below 5 ppm (or bromine below 5 ppm) before getting in. If you shocked heavily, that might take a few extra hours. Test before you soak. Don’t guess.
If you start filling in the morning and your heater gets the water to temperature by evening, you could be soaking by night. A realistic timeline for most people: fill and flush in the morning, balance chemicals in the afternoon, soak the next morning after overnight circulation.
When to drain and restart again
Most hot tubs need a full drain and refill every three to four months. Heavier use shortens that window. A common formula: divide your tub’s gallon capacity by the number of daily bathers, then divide by three. That gives you the approximate number of days between drains.
Worked examples:
- 400 gallon tub, 2 people daily: 400 / 2 / 3 = about 67 days (roughly every two months)
- 400 gallon tub, 2 people three times a week: averages out closer to four months
- 300 gallon tub, family of 4 daily: 300 / 4 / 3 = 25 days (drain monthly)
You’ll also know it’s time when your water starts resisting balance. If you keep adding chemicals and the readings won’t stabilize, total dissolved solids (TDS) have likely built up past the point where adjustments help. Dichlor users should also monitor CYA (cyanuric acid), which accumulates with every dose and can reach problematic levels (50+ ppm) in as little as four weeks. Fresh water fixes what chemicals can’t.
Frequently asked questions
What chemicals do I add first after refilling my hot tub? Alkalinity first (target 80 to 120 ppm), then pH (7.4 to 7.6), then calcium hardness (150 to 250 ppm), then sanitizer, then shock. This order matters because alkalinity stabilizes pH, and balanced pH lets your sanitizer work at full strength. Adding sanitizer to unbalanced water wastes product.
How long after adding chemicals can I use my hot tub? After a full startup with shock, wait until free chlorine drops below 5 ppm. That usually takes 4 to 8 hours depending on the shock dose. For routine additions (daily sanitizer, pH adjustment), 15 to 20 minutes of circulation is enough. Always test before getting in rather than guessing.
Do I need to shock my hot tub after refilling? Yes. Tap water contains trace bacteria, organic matter, and chloramines from municipal treatment. Well water is even more variable. An initial shock dose (5 to 8 ppm free chlorine) sanitizes both the water and the plumbing. Skipping this step means your first few soaks are in water that was never properly treated.
Should I flush my hot tub lines before draining? Every single time. Biofilm builds up inside plumbing over a three to four month fill cycle and survives normal sanitizer levels. Run Ahh-Some or Oh Yuk through the jets for 20 to 30 minutes before draining. You’ll probably be disgusted by what comes out. That’s the point.
How often should I drain and refill? Every three to four months for average use (2 people, 3 to 4 times per week). The formula is: gallons divided by daily bathers divided by 3 = days between drains. Also drain whenever water chemistry becomes impossible to stabilize (high TDS) or when CYA from dichlor use exceeds 40 to 50 ppm.
Do I need a hose pre-filter when refilling? If your tap water has calcium above 200 ppm, visible metals (brown or green tint), or strong chloramine smell, absolutely. A hose filter removes those contaminants at the source before they ever enter your tub. It’s the single easiest thing you can do for a clean fill cycle.